Laying reflective road markers
Title: Laying Reflective Road Markers: A Guide to Installation, Benefits, and Best Practices
Meta Description: Discover how reflective road markers enhance road safety, their installation process, benefits, and expert tips for long-lasting performance.
Slug: laying-reflective-road-markers-guide
What Are Reflective Road Markers?
Reflective road markers (RRMs), also known as raised pavement markers (RPMs) or cat’s eyes, are vital safety devices embedded in roads. They use retroreflective materials to guide drivers at night or in poor weather, improving lane visibility and reducing accidents.
Why Install Reflective Road Markers?
- Enhanced Nighttime Visibility: Reflect headlights to outline lanes, curves, and hazards.
- Weather Resilience: Improve guidance in rain, fog, or snow.
- Accident Reduction: Studies show RRMs cut nighttime crashes by 30–50%.
- Traffic Flow Optimization: Direct drivers through construction zones or complex intersections.
- Cost-Efficiency: Low maintenance compared to painted lines, which fade faster.
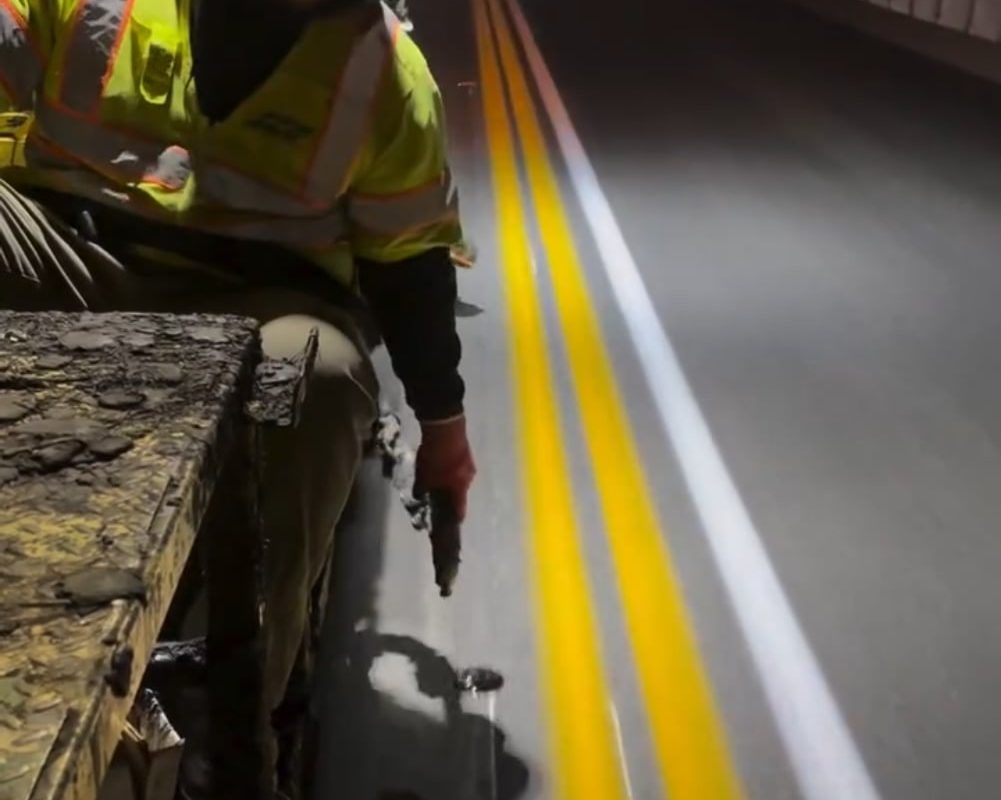
Step-by-Step Installation Process
Proper installation ensures durability and maximum reflectivity. Here’s how professionals do it:
1. Planning & Site Assessment
- Survey the Road: Identify curves, merge points, and accident-prone areas.
- Choose Marker Type:
- Ceramic/Plastic: Standard durability for urban roads.
- Metal/Aluminum: High-traffic highways.
- Solar-Powered: Autonomous markers for remote/rural zones.
- Verify Regulations: Follow local DOT/FHWA guidelines for spacing and placement.
2. Surface Preparation
- Clean the Road: Remove debris, oil, or old adhesive.
- Mark Positions: Use chalk or spray paint to align markers (e.g., every 10–40 feet).
- Cut Slots (For Embedded Types): Use a saw for recessed installation.
3. Adhesive Application
- Epoxy or Thermoplastic Glue: Apply high-strength adhesive to the marker base.
- Press Firmly: Ensure full contact with the road surface.
4. Embedding & Alignment
- Recessed Markers: Insert into pre-cut slots and seal edges with asphalt emulsion.
- Surface Mounts: Align with lane markings using templates.
5. Curing & Testing
- Wait 24–48 Hours: Let adhesive cure fully.
- Reflectivity Check: Validate performance under low-light conditions.
Common Challenges & Solutions
| Issue | Solution |
|---|---|
| Marker theft/vandalism | Use tamper-proof designs or epoxy. |
| Poor adhesion in cold | Preheat adhesive or use winter-grade formulas. |
| Reduced reflectivity | Clean markers regularly; replace damaged units. |
Maintenance Tips for Longevity
- Inspect Quarterly: Check for looseness, dirt, or damage.
- Clean with High Pressure: Remove grime without scratching reflectors.
- Track Wear-and-Tear: Replace markers after 5–7 years (or per manufacturer guidelines).
Innovations in Road Marker Technology
- Smart RRMs: Embedded sensors for traffic/weather data collection.
- Solar LEDs: Self-powered markers with intense brightness.
- Eco-Friendly Materials: Biodegradable plastics and recycled metals.
Conclusion: Investing in Road Safety
Laying reflective road markers is a small cost with exponential returns in accident prevention and driver confidence. By following best practices—from meticulous installation to proactive maintenance—communities and contractors ensure safer, smarter roads for all.
Keywords: Reflective road markers, RPM installation, traffic safety, raised pavement markers, road marking safety, highway visibility.
Internal Links (Optional):
- [How to Maintain Road Markings]
- [Solar Road Markers vs. Traditional Reflectors]
- [Government Standards for Road Safety]
Boost your road safety projects with professional-grade reflective markers—contact local DOT-certified installers today!