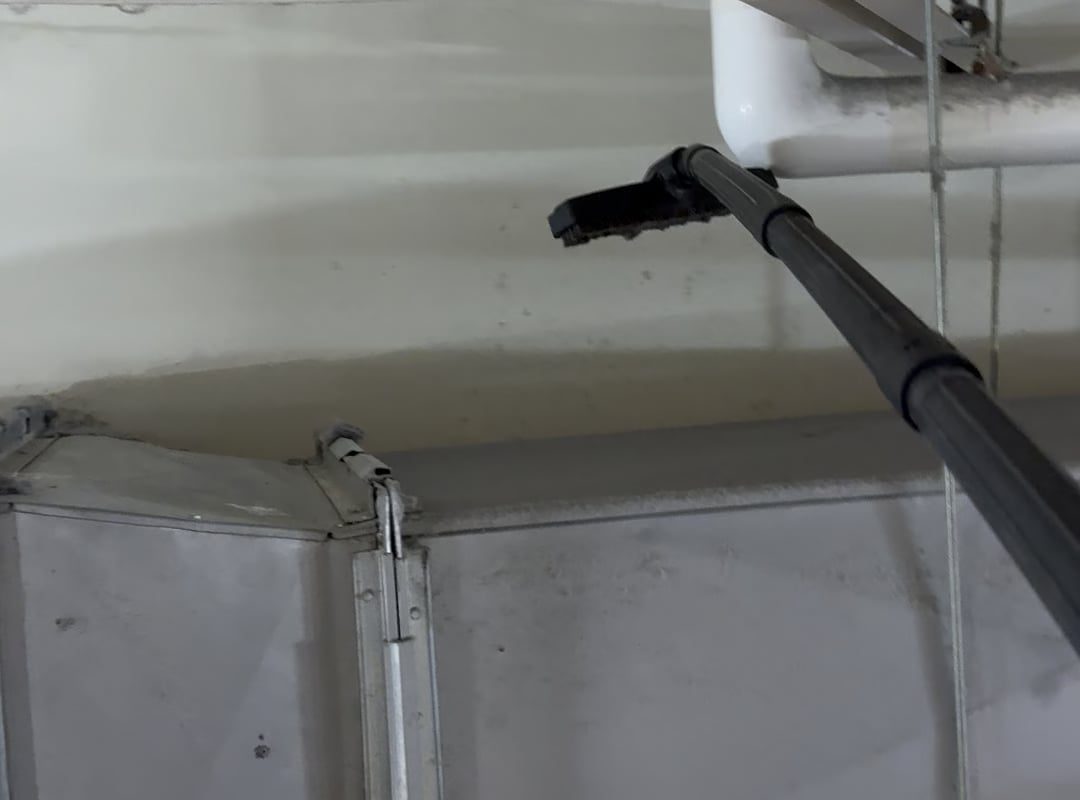
Vacuuming 5 year layer of dust off AC ductwork
Title: Breathe Easy Again: How to Vacuum a 5-Year Layer of Dust Off Your AC Ductwork
URL Slug: vacuum-dust-off-ac-ductwork
Meta Description: Discover the health and efficiency benefits of removing years of dust from your AC ducts. Learn step-by-step how to tackle this DIY project (or when to call a pro).
Introduction
Your HVAC system works tirelessly to keep your home comfortable—until layers of dust, pet dander, and allergens accumulate in the ductwork. If it’s been 5+ years since your last duct cleaning, your AC is likely struggling beneath a blanket of grime. Ignoring this buildup can spike energy bills, worsen allergies, and strain your HVAC system. In this guide, you’ll learn how to safely vacuum caked-on dust from your ducts, restore airflow, and improve indoor air quality.
Why Vacuuming Years of Dust Matters
Left unchecked, duct dust causes three major problems:
- Health Hazards: Dust harbors mold spores, bacteria, and allergens that circulate through vents.
- Reduced Efficiency: Clogged ducts force your HVAC system to work harder, raising energy costs by up to 40%.
- Stale Odors: Accumulated debris can cause musty smells every time the AC kicks on.
Pre-Vacuuming Prep: Tools & Safety
You’ll Need:
- HEPA-filter vacuum (shop vac or household vacuum with hose attachment)
- Stiff-bristle brush or duct cleaning brush kit
- Screwdriver (to remove vent covers)
- Microfiber cloths
- N95 mask, gloves, and goggles
Safety First:
- Turn off your HVAC system at the thermostat and circuit breaker.
- Seal supply/return vents with plastic to prevent dust from escaping into rooms.
Step-by-Step: Vacuuming 5 Years of Dust
-
Remove Vent Covers:
Unscrew air registers (vents) and soak them in warm, soapy water. Scrub with a brush, rinse, and dry. -
Access the Main Ducts:
Locate the main trunk line (usually in the attic, basement, or utility closet). Remove the metal access panel. -
Loosen Stubborn Dust:
Use a brush to dislodge thick dust from duct walls. Focus on bends, joints, and corners where debris collects. -
Vacuum Thoroughly:
Attach your vacuum hose to the duct opening. Work in sections, moving from the HVAC unit toward vents. Tip: Wrap pantyhose around the hose end to catch falling debris. -
Clean Supply Lines:
Repeat brushing/vacuuming for smaller branch ducts behind wall vents. -
Reassemble & Test:
Replace vent covers and restore power. Run your AC for 15 minutes to flush residual dust.
Post-Cleaning Tips
- Replace Filters: Install a fresh MERV 8–13 filter to trap remaining particles.
- Seal Leaks: Use foil tape to close gaps in ducts—prevents future dust intrusion.
- Schedule Maintenance: Add “duct inspection” to your annual HVAC tune-up.
When to Call a Professional
Consider hiring a pro if:
- You spot mold growth or rodent droppings.
- Ducts are in hard-to-reach areas (e.g., behind walls).
- DIY cleaning doesn’t resolve airflow issues.
FAQs
Q: Will vacuuming ducts improve AC cooling?
A: Yes! Removing blockages helps air flow freely, cooling your home faster.
Q: How often should ducts be cleaned?
A: Every 3–5 years for most homes—annually if you have pets or allergies.
Q: Can dusty ducts trigger asthma attacks?
A: Absolutely. Dust mites and pollutants in ducts worsen respiratory conditions.
Conclusion
Vacuuming half a decade of dust from your AC ducts isn’t just a chore—it’s an investment in your home’s health and comfort. With 1–2 hours of work, you’ll breathe cleaner air, slash energy waste, and extend your HVAC system’s lifespan. For severe buildup, don’t hesitate to book a professional deep-clean. Your lungs (and wallet) will thank you!
SEO Keywords: AC duct cleaning, DIY duct vacuuming, clean dusty ducts, improve indoor air quality, HVAC maintenance, air duct health

![[Highlight] Mike Conley swishes the open three and then hits 10 consecutive unique handshakes as he heads to the bench](https://www.smartplusmedia.com/wp-content/uploads/2025/12/Highlight-Mike-Conley-swishes-the-open-three-and-then-hits-445x265.jpeg)