A satisfying process of making chocolate petals
The Art of Crafting Chocolate Petals: A Surprisingly Satisfying Process
There’s something deeply therapeutic about transforming simple ingredients into edible art—especially when it involves chocolate. Among the most elegant and rewarding edible creations are chocolate petals: delicate, intricately shaped decorations that elevate cakes, desserts, and even beverages. In this guide, we’ll dive into the mesmerizing process of making chocolate petals, exploring why this craft is equal parts artistic, scientific, and utterly gratifying.
Why Chocolate Petals? The Allure of Edible Elegance
Chocolate petals are versatile, sophisticated, and surprisingly simple to craft. Whether adorning a wedding cake, garnishing a latte, or adding flair to cupcakes, these melt-in-your-mouth decorations blend flavor and aesthetics. The process itself—meticulous yet meditative—offers a sensory journey from the rich aroma of melted chocolate to the tactile joy of sculpting delicate forms.
Step-by-Step: The Satisfying Process of Making Chocolate Petals
1. Gathering Your Tools & Ingredients
- High-quality chocolate: Use tempered couverture chocolate (dark, milk, or white) for a smooth finish and snap.
- Silicone petal molds: Opt for floral shapes like roses, daisies, or abstract designs.
- Paintbrush or offset spatula: Essential for spreading chocolate thinly.
- Parchment paper & pastry bag (optional): For freehand designs.
Pro Tip: A candy thermometer ensures perfect tempering, but beginners can use “cheat” methods like microwave tempering or chocolate melts.
2. Tempering Chocolate: The Science of Shine
Tempering—heating and cooling chocolate to stabilize its crystals—is key to achieving glossy, durable petals. Here’s a simplified approach:
- Melt chocolate gently (double boiler or microwave in 15-second bursts).
- Cool to ~80°F (27°C), then reheat slightly to 88–90°F (31–32°C) for dark chocolate (adjust for milk/white).
- Test temper by spreading a dab on parchment; it should set firm and shiny in minutes.
The Satisfaction Factor: Watching molten chocolate transform into a mirror-like finish is pure alchemy!
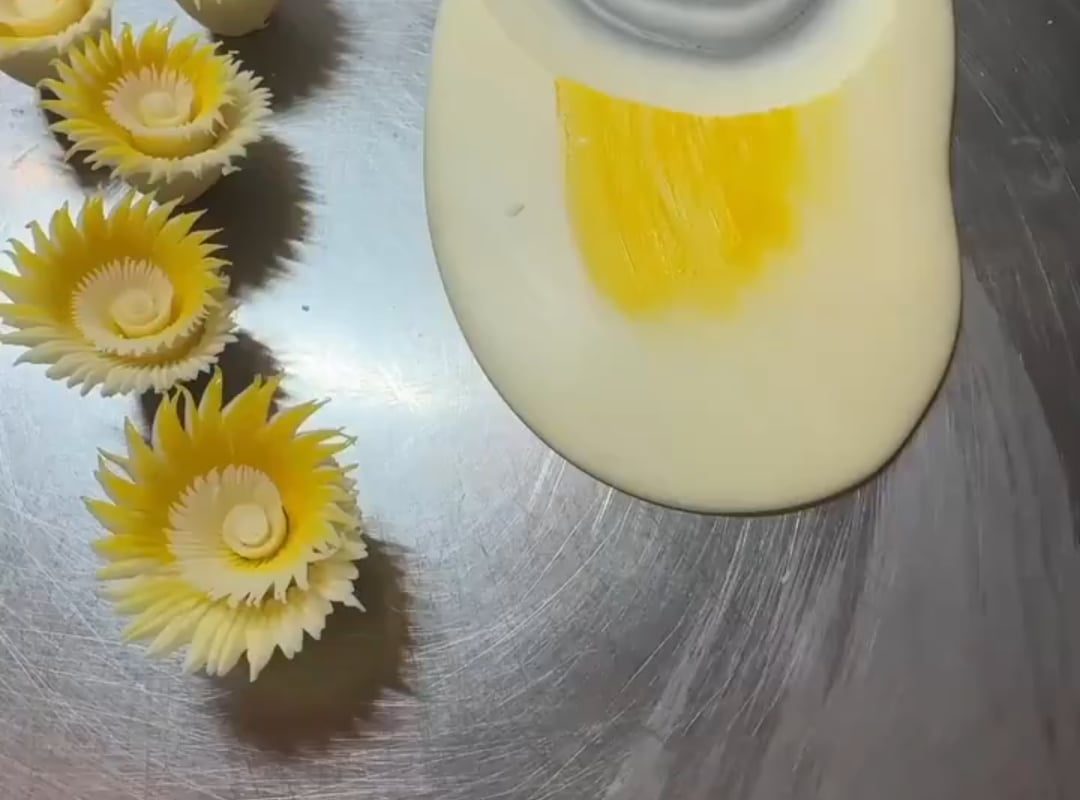
3. Molding the Petals: Precision Meets Creativity
- Fill the molds: Use a paintbrush or spatula to spread tempered chocolate into petal molds, working quickly before it sets. Layer thinly for a delicate look.
- Scrape excess: A clean edge ensures even thickness.
- Chill to set: Refrigerate for 10–15 minutes until solid.
Pro Tip: For gradient effects, dust molds with edible luster dust before adding chocolate.
4. Unmolding & Finishing Touches
- Gently peel petals from molds—they should release effortlessly if properly tempered.
- Store in an airtight container away from heat or humidity.
- Customize: Brush with edible gold dust, layer petals into 3D flowers, or pair with ganache for edible bouquets.
Why This Process Feels So Rewarding
- Tactile Therapy: Spreading chocolate into intricate molds engages the senses—its silky texture, the scrape of the spatula, the crisp release from the mold.
- Instant Gratification: Unlike baking, chocolate petals set in minutes, delivering quick, Instagram-worthy results.
- Creative Freedom: Experiment with shapes, colors (using cocoa butter dyes), and arrangements.
Common Pitfalls & Pro Tips for Success
- Avoid Bloom: If chocolate develops gray streaks (fat bloom), it wasn’t tempered properly. Re-melt and restart.
- Thinness Matters: Too-thick petals lose their delicate appeal; aim for translucent edges.
- Temperature Control: Keep your workspace cool (under 70°F/21°C) to prevent melting during handling.
Inspiring Uses for Chocolate Petals
- Cake Decor: Adorn birthday cakes, entremets, or cheesecakes.
- Dessert Garnishes: Float petals on mousse, panna cotta, or hot chocolate.
- Edible Gifts: Bundle petals into cellophane bags tied with ribbon.
FAQs About Making Chocolate Petals
Q: Can I use compound chocolate (chocolate chips)?
A: Yes, but it won’t temper—opt for melts or add cocoa butter for better results.
Q: How long do chocolate petals last?
A: Up to 6 months if stored properly (cool, dry, airtight).
Q: Can I make petals without molds?
A: Absolutely! Pipe freehand shapes onto parchment or use real petals as guides (food-safe only).
Final Thoughts: Embrace the Joy of Chocolate Crafting
Making chocolate petals is more than a technique—it’s an invitation to slow down, savor the process, and create something beautiful. Whether you’re a pastry chef, a hobbyist, or a chocolate lover seeking a mindful activity, this craft delivers satisfaction in every delicate piece.
Ready to try it? Gather your chocolate, embrace the imperfections, and let your creativity blossom—one petal at a time!
Meta Description: Discover the soothing art of making chocolate petals—a step-by-step guide to crafting edible elegance. Learn tempering tips, mold techniques, and creative uses for stunning dessert decor.