Wooden turning a male and female piece by eye
Mastering the Art of Wooden Turning Male and Female Pieces by Eye: A Craftsperson’s Guide
Woodturning is a mesmerizing blend of skill, precision, and creativity. Among its most satisfying challenges is creating perfectly fitted male and female pieces—think threaded lids, interlocking joints, or custom fittings—entirely by eye, without relying on digital aids or complex measuring tools. This method demands patience, a steady hand, and trust in your instincts, but the result is a testament to true craftsmanship. In this guide, we’ll explore techniques, tools, and tips for mastering this rewarding skill.
Why Turn Male and Female Pieces by Eye?
Turning mating components by eye is more than a practicality—it’s a craftsperson’s rite of passage. Benefits include:
- Developing Spatial Awareness: Improve your ability to visualize dimensions and symmetry.
- Cultivating Precision: Sharpen your control over tools and lathe speed.
- Minimalist Crafting: Ideal for projects in remote workshops or those embracing low-tech artistry.
- Pride in Mastery: Achieving a snug fit through skill alone is deeply rewarding.
While calipers and templates have their place, relying on sight and touch connects you closer to the timber’s natural essence.
Essential Tools for the Job
You don’t need expensive gadgets, but these basics are crucial:
- Lathe: A sturdy benchtop or floor model with variable speed control.
- Gouges and Chisels: A spindle gouge for details and a skew chisel for smoothing.
- Parting Tool: To define shoulders and separate pieces.
- Safety Gear: Face shield, dust mask, and hearing protection.
- Sandpaper/Padded Abrasives: For refining surfaces (80–400 grit).
- Oil/Wax Finish: Protects wood and enhances fit.
Step-by-Step: Turning a Male and Female Pair by Eye
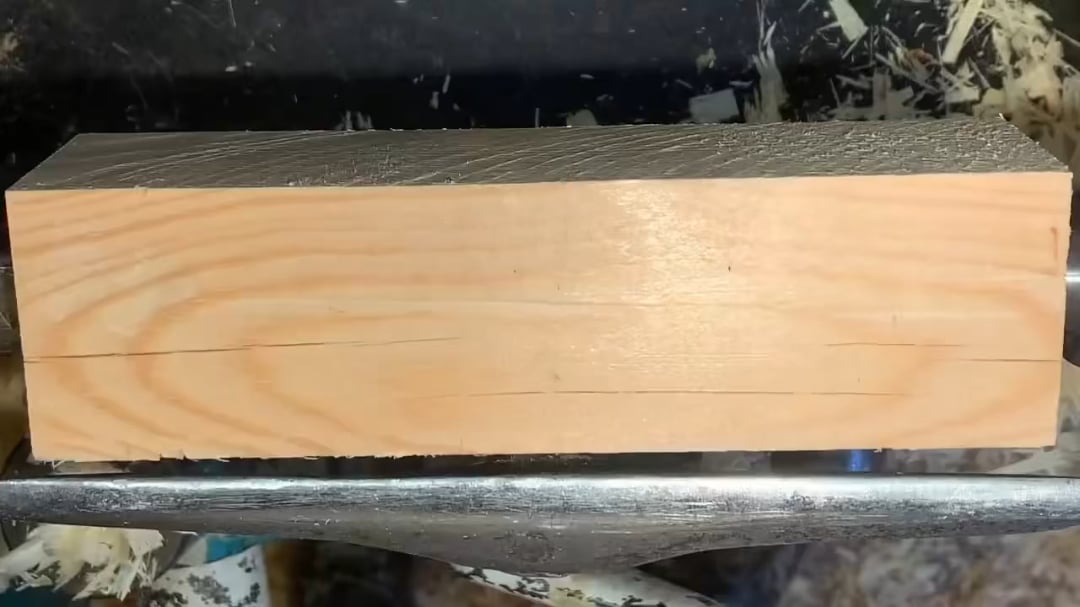
1. Choosing and Preparing the Wood
- Select Stable Timber: Hardwoods like maple or cherry are ideal—stable, fine-grained, and less prone to splitting.
- Rough Dimensioning: Square or round your blank slightly larger than the final size. Secure it between centers or in a chuck.
2. Shaping the Male Piece
- Establish the Profile: Turn the general shape (e.g., a cylindrical tenon or threaded bolt). Use light passes to remove bulk.
- Refine the Critical Section: Focus on the area that will mate with the female piece. Eyeball proportions—e.g., ensure the diameter tapers slightly (a 1–2° angle aids friction fits).
- Test Often: Compare the male piece to the female blank’s mortise hole as you work. Aim for a press-fit feel—snug without force.
3. Creating the Female Counterpart
- Hollowing the Receptacle: Use a forstner bit or gouge to bore a hole slightly smaller than the male piece’s diameter.
- Internal Shaping: Refine the female cavity with a small gouge or scraper, checking against the male component frequently.
- Mind the Depth: Ensure the depth matches (or slightly exceeds) the male piece’s length for a flush fit.
4. Fitting & Fine-Tuning
- Dry-Fit Assembly: Test the fit before sanding. If too tight, gently adjust the male piece’s diameter with light tool passes.
- Role of Sanding: Sand both pieces incrementally—start coarse (80–120 grit) to remove tool marks, then progress to 220+ grit for smooth engagement.
- Finish Before Final Fit: Apply oil or wax to both parts before the last assembly—this prevents swelling-induced tightness.
Tips for Success
- Work Symmetrically: Rotate the lathe by hand often to check for even cuts.
- Embrace “Sneak Up” Cuts: Remove material slowly—you can’t undo an overcut!
- Trust Tactile Feedback: Vibrations, sound, and resistance tell you how the wood is responding.
- Practice with Softwoods First: Pine or poplar are forgiving for honing technique.
Common Challenges & Solutions
- Too Loose?: Wrap the male piece in masking tape to bulk it up, or build up the female cavity with wood glue and sawdust.
- Galling or Friction: Rub beeswax on mating surfaces for smoother engagement.
- Misaligned Profiles: Use parting tool scoring marks to visually guide proportions.
Why This Method Matters Today
In an era of CNC precision, turning by eye keeps the soul of craftsmanship alive. Projects like bespoke boxes, tool handles, or artistic sculptures gain authenticity when shaped through human judgment. Plus, this skill is invaluable for repairs or creating one-off parts where measurements aren’t possible.
Conclusion: Precision Born of Practice
Turning interlocking wooden components by eye is a dance between art and intuition. While modern tools offer shortcuts, the ability to “feel” your way to a perfect fit is a talent that elevates your work. Start simple, embrace mistakes as lessons, and soon you’ll join generations of artisans who’ve mastered wood’s subtle language.
Final Thought: In woodturning, the journey is the reward—every shaving curled away brings you closer to harmony between hand, eye, and material.
Meta Description: Learn how to hand-turn wooden male and female pieces by eye with this in-depth guide. Perfect for crafters seeking precision without digital aids—tools, techniques, and troubleshooting included!
Target Keywords: Woodturning by eye, Male female wood joints, Handmade wood connections, Measuring-free woodturning, Traditional turning techniques.
Craft your legacy one spin at a time! 🪵✨