credit: seainpalm_art
Transform Your Space: How to Turn a Wooden Board into Ocean Waves
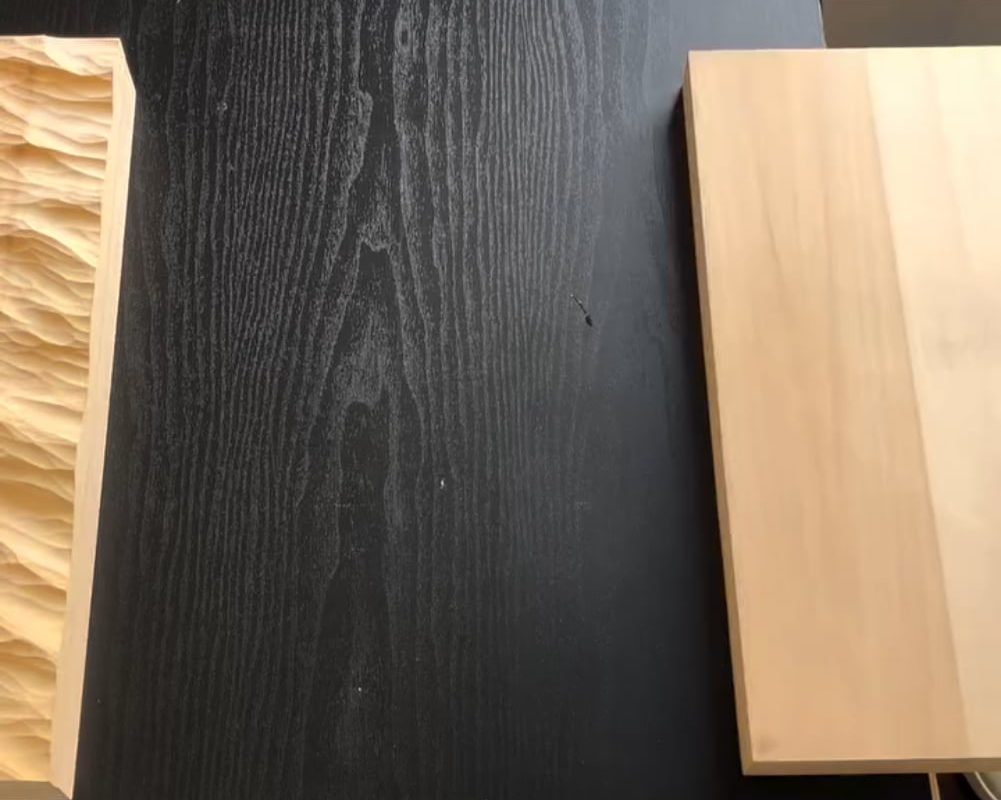
The rhythmic dance of ocean waves is a timeless symbol of serenity and motion. What if you could capture that fluid beauty in a wooden creation? For DIY enthusiasts, woodworkers, or anyone craving coastal ambiance in their home, transforming a plain wooden board into a stunning “ocean wave” sculpture or wall art is an achievable—and deeply satisfying—project. In this guide, we’ll dive into the process, tools, and creative tips to carve, shape, and finish your wooden masterpiece.
Why Create Wooden Ocean Waves?
- Aesthetic Appeal: Waves evoke tranquility, making them perfect for coastal, modern, or bohemian décor.
- Customization: Tailor the size, wood type, and finish to match your space.
- Skill-Building: Learn carving, sanding, and texturing techniques applicable to future projects.
- Sustainable Art: Repurpose reclaimed wood for an eco-friendly statement piece.
Tools & Materials You’ll Need
Wood Selection
- Softwoods: Pine or cedar (easy to carve, ideal for beginners).
- Hardwoods: Maple, oak, or walnut (durable but require more effort).
- Reclaimed Wood: Adds rustic charm with natural weathering.
- Size: Start with a board at least 1–2 inches thick for depth.
Essential Tools
- Safety Gear: Gloves, goggles, and a dust mask.
- Drawing Tools: Pencil, stencil, or printed wave template.
- Cutting Tools: Jigsaw or band saw (for rough shaping).
- Carving Tools: Chisels, gouges, or a rotary tool (Dremel).
- Sanding Supplies: Sandpaper (80–400 grit), orbital sander, or sanding blocks.
- Finishing Supplies: Wood stain (blues, grays, teal), clear sealant, or epoxy resin for a glossy “water” effect.
Step-by-Step Guide to Sculpting Waves
1. Design Your Waves
- Sketch or Stencil: Draw wave patterns freehand or use a reference photo. Focus on curves, crests, and troughs.
- Pro Tip: Layer multiple wave outlines for a 3D effect.
2. Rough Cutting the Shape
- Use a jigsaw to cut along your sketched lines, removing large sections of excess wood.
- Safety First: Secure the board to a workbench to prevent slipping.
3. Carving & Shaping
- Create Contours: Use gouges or a rotary tool to carve gentle slopes for wave faces and sharper edges for crests.
- Texture the Surface: Mimic foamy water with shallow grooves or pockmarks (a small drill bit works well).
- Layering: For multi-wave designs, carve deeper at the base and shallower toward the top for realism.
4. Sanding for Smoothness
- Start with coarse grit (80–120) to remove tool marks.
- Progress to fine grit (220–400) to create a silky finish. Highlight the wave’s curves by sanding edges slightly more.
5. Staining & Finishing
- Stain Choices:
- Classic Ocean: Blend blue-gray stains for depth.
- Sunset Waves: Add hints of orange or purple to the crests.
- Technique: Apply darker stains in crevices and lighter shades on peaks for contrast.
- Sealant: Use matte varnish to preserve wood grain or epoxy resin for a glossy, wet look.
6. Optional Embellishments
- Mixed Media: Attach sea glass, shells, or metallic accents with wood glue.
- Pyrography: Burn wave details or patterns with a wood-burning tool.
- LED Lighting: Backlight the piece to cast dramatic shadows.
Creative Display Ideas
- Wall Art: Mount horizontally or vertically as a focal point.
- Room Divider: Assemble multiple wave boards into a screen.
- Functional Pieces: Convert into a shelf, tabletop, or headboard.
Pro Tips for Success
- Practice First: Test cuts and carvings on scrap wood.
- Work Slowly: Remove small amounts of wood at a time to avoid over-carving.
- Incorporate Wood Grain: Use the board’s natural lines to guide your wave design.
- Weathering Effects: Brush white paint lightly onto crests for a “seafoam” effect.
FAQs
Q: Can beginners tackle this project?
A: Absolutely! Start with softwood and simple wave shapes.
Q: How long does it take?
A: 6–10 hours depending on complexity (excluding drying time for finishes).
Q: What if I don’t have carving tools?
A: Use a hand rasp, sandpaper, or even a DIY chisel from an old screwdriver.
Conclusion
Turning a wooden board into ocean waves merges craftsmanship with the timeless beauty of the sea. Whether displayed in a living room, office, or beach house, this project brings a touch of nature’s artistry into your space. So grab your tools, embrace the creative flow, and let the waves roll into reality!
Final Inspiration: Pair your wave art with driftwood accents, navy textiles, or seashell collections to complete the coastal vibe.
Liked this guide? Share your creations with us on social media using #WoodenWaves! For more woodworking ideas, explore our blog or subscribe for weekly DIY inspiration.