Leather tooling
Master the Craft: The Ultimate Guide to Leather Tooling for Beginners and Pros
Unlock the Art of Creating Stunning Hand-Tooled Leather Designs
What is Leather Tooling?
Leather tooling is the centuries-old practice of carving, stamping, and embossing designs into leather to create intricate patterns, images, or textures. This versatile craft transforms flat, supple leather into personalized works of art—think custom wallets, belts, journal covers, or even saddles. Whether you’re a DIY enthusiast or an aspiring artisan, leather tooling offers endless creative possibilities.
A Brief History of Leather Tooling
Leather tooling dates back to ancient civilizations, with evidence of decorated leather found in Egyptian tombs and medieval European armor. Native American tribes, like the Navajo and Apache, popularized the craft in the U.S., using floral and geometric motifs that remain iconic today. Modern tooling blends traditional techniques with contemporary designs, making it a timeless art form.
Essential Leather Tooling Supplies
Before diving in, stock your toolkit with these basics:
- Leather: Use vegetable-tanned leather (6-8 oz weight recommended), which is firm and ideal for tooling.
- Tools:
- Swivel Knife: For clean, precise cuts.
- Mallets & Stamps: Includes pear shaders, bevelers, backgrounders, and decorative stamps.
- Stitching Groover & Awl: For adding seams or holes.
- Other Essentials:
- Damp Sponge: To moisten leather for easier carving (called “casing”).
- Strap Cutter & Ruler: For accurate measurements.
- Finishes: Dyes, antiquing gel, or sealants like resolene.
Pro Tip: Beginner kits from Tandy Leather or Weaver Leather Supply offer affordable starter bundles.
Step-by-Step Guide to Basic Leather Tooling
1. Prepare Your Leather
- Cut leather to size using a strap cutter.
- Case the leather: Lightly dampen it with a sponge until it’s cool to the touch (like a damp sponge). Avoid over-wetting!
2. Trace Your Design
- Sketch a pattern on paper, then transfer it to leather using tracing film or a stylus.
3. Cut with a Swivel Knife
- Tilt the blade at 45° and cut along your design lines. Keep strokes smooth and consistent.
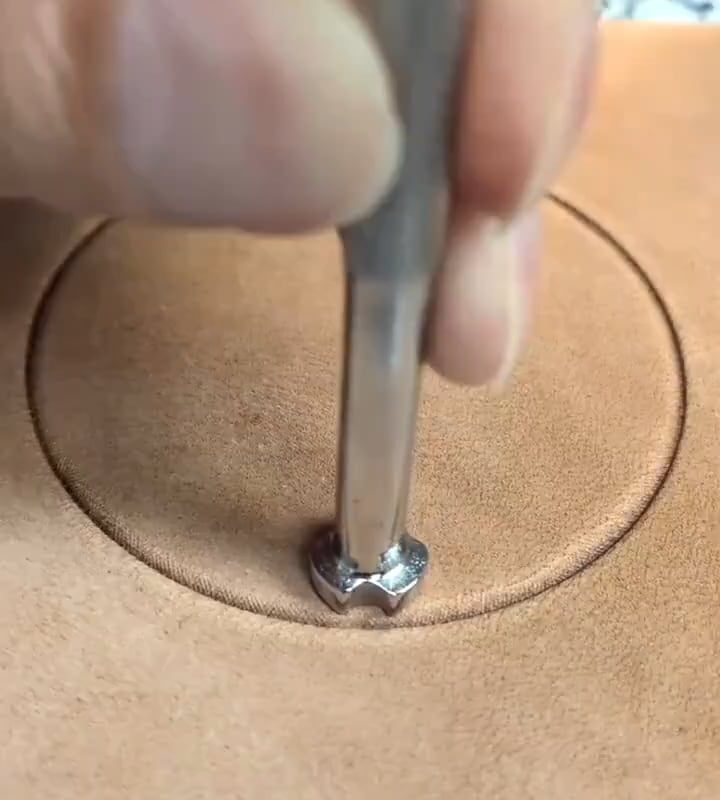
4. Stamp & Bevel
- Use a beveler stamp to lift edges along cuts, creating depth.
- Add texture with shading stamps or background tools to make patterns pop.
5. Add Color & Finish
- Apply dye with dauber brushes or airbrushing. Let dry completely.
- Seal with a finish to protect against scratches and moisture.
Popular Leather Tooling Techniques
- Basic Carving: Simple floral or scroll patterns for beginners.
- Sheridan-Style Tooling: Bold, deep-relief Western designs with flowing floral motifs.
- Geometric Patterns: Crisp, angular shapes popular in tribal or Celtic-inspired work.
- Filigree & Lace Patterns: Delicate, lace-like detailing using fine-tipped tools.
5 Leather Tooling Projects to Try
- Keychains: Practice small-scale patterns with minimal leather waste.
- Cuff Bracelets: Experiment with border designs and name engraving.
- Custom Notebook Covers: Showcase large, intricate scenes.
- Dog Collars: Blend function and artistry.
- Wall Art: Create rustic home decor with tooled leather panels.
Common Mistakes & How to Avoid Them
- Over-Wetting Leather: Causes bloating or distorted designs. Let leather return to a pale tan before tooling.
- Inconsistent Pressure: Practice mallet strikes on scrap leather for uniform impressions.
- Rushing the Dye Process: Layer dyes gradually to avoid blotchiness.
Caring for Tooled Leather
- Clean: Use a soft brush or damp cloth. Avoid harsh chemicals.
- Condition: Apply natural oils (like neatsfoot) annually to prevent drying.
- Store: Keep away from direct sunlight and humidity.
Why Leather Tooling is More Popular Than Ever
In the age of mass production, hand-tooled leather stands out for its uniqueness and craftsmanship. Social media platforms like Instagram and Etsy have fueled a resurgence, with artisans sharing bold, modern designs. Plus, tooling is a meditative hobby that reduces stress—no wonder it’s a hit with makers!
FAQs About Leather Tooling
Q: Can you tool faux leather?
A: No—only vegetable-tanned leather retains impressions.
Q: Is leather tooling expensive?
A: Start for under $100 with a beginner kit! Prioritize a good swivel knife and stamps.
Q: How long does it take to master?
A: Basic skills can be learned in weeks, but mastery takes years of practice.
Final Thoughts: Your Journey Starts Here
Leather tooling bridges tradition and creativity, letting you leave a lasting mark on every piece. With patience and practice, you’ll transform raw leather into heirlooms. Ready to begin? Grab some leather, trust the process, and let your imagination run wild.
Tag your tooled creations with #LeatherToolingArt—we’d love to see your masterpieces!
Keywords for SEO: Leather tooling, leather carving, how to tool leather, leather stamping, leather crafting, veg-tan leather, DIY leather projects, Sheridan tooling, leather tools, beginner leatherwork.