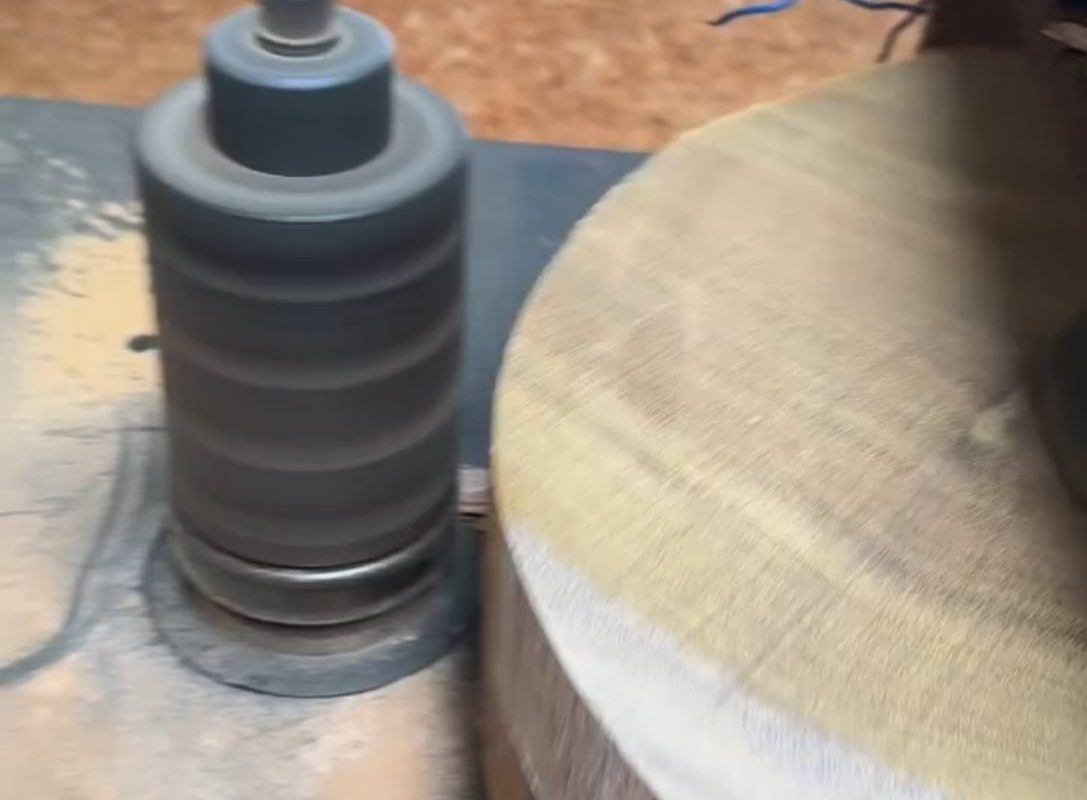
Shaping a wooden disc on a lathe
Crafting Perfect Wooden Discs: A Complete Guide to Lathe Shaping Techniques
In the realm of woodworking, few projects showcase craftsmanship quite like transforming raw lumber into flawless wooden discs using a lathe. Whether you’re creating decorative ornaments, custom table bases, or wooden watch faces, shaping wooden discs demands precision, technique, and the right tools. This comprehensive guide will walk you through every step of the process, from setup to finishing touches.
Why Shape Wooden Discs on a Lathe?
Wooden discs have endless applications in both functional and decorative projects:
- Clock faces
- Charcuterie boards
- Wall art installations
- Furniture components (table legs, wheel parts)
- Artistic inlay work
Using a lathe ensures perfect symmetry, smooth edges, and professional-level consistency that hand tools simply can’t match.
Tools & Materials You’ll Need
Essential Equipment:
- Wood lathe (bench-top or full-size)
- Faceplate or scroll chuck attachment
- Wood turning gouges (spindle roughing gouge, bowl gouge)
- Lathe-safe calipers (for measuring thickness)
- Parting tool
- Safety gear (face shield, dust mask)
Material Selection Tips:
- **Hardwoods***: Maple, walnut, and cherry offer durability and beautiful grain.
- **Softwoods***: Pine or cedar work well for practice discs.
- **Plywood***: For structural discs needing extra stability.
Pro Tip: Wood blanks should be 1-2″ wider than your desired final diameter to allow for shaping.
Step-by-Step Process: Shaping Your Disc
1. Mounting the Workpiece
- Faceplate Mounting: Screw a faceplate directly into your wood blank’s center using lag screws.
- Chuck Method: Use a 4-jaw scroll chuck to grip square stock securely.
- Always check for secure attachment before starting the lathe.
2. Rough Shaping (RPM: 800-1200)
- Wear your face shield and lower the lathe’s tool rest.
- Use a roughing gouge to:
- Knock down corners to create a rough cylinder
- Establish the disc’s outer diameter
- Flatten the face
3. Precision Turning
- Switch to a bowl gouge or skew chisel to refine:
- Thickness: Use calipers to maintain consistent depth.
- Edge Profile: Create beveled, rounded, or decorative edges.
- Stop frequently to measure and avoid over-cutting.
4. Sanding & Finishing
- **Sanding Sequence***: Progress from 120-grit to 220-grit (up to 400 for ultra-smooth finishes).
- Apply sandpaper while the lathe spins at medium speed.
- Finish with food-safe oil (for charcuterie boards) or lacquer (for decorative pieces).
Advanced Techniques for Perfect Discs
- Double-Sided Discs: Reverse-mount using a jam chuck to shape both faces.
- Inlay Work: Cut grooves while spinning and embed resin or contrasting wood strips.
- Textured Edges: Use wire brushes or specialized scraping tools for rustic effects.
5 Common Mistakes to Avoid
- Over-tightening Chuck: Can crack wood blanks.
- Dull Tools: Causes tear-out and rough surfaces.
- Ignoring Grain Direction: Always work “downhill” along the grain.
- Skipping Sanding Grits: Leads to visible scratch marks.
- High RPM on Large Discs: Risk of imbalance; reduce speed as diameter increases.
Project Ideas to Inspire You
- Geometric Wall Art: Create nested discs of varying sizes.
- Custom Coasters: Use exotic woods with burned edge detailing.
- Garden Spinners: Weatherproof discs with colorful outdoor paint.
- Tabletop Games: Craft wooden checker pieces or game tokens.
FAQs: Wooden Disc Lathe Work
Q: How thin can I turn a wooden disc on a lathe?
A: With proper technique, discs can be turned as thin as 1/8″ – but use light cuts and dense woods.
Q: Can I use green wood?
A: Yes, but expect warping as it dries. Kiln-dried wood is preferable for precision projects.
Q: What’s the safest RPM for large discs?
A: Never exceed the lathe manufacturer’s recommendations. For discs over 12″, keep RPMs below 900.
Conclusion: Mastery Through Practice
Shaping wooden discs on a lathe combines technical skill with artistic vision. Start with simple projects to build confidence, then experiment with complex profiles and inlays. Remember – sharp tools, patient sanding, and secure mounting are the pillars of success. Your perfect disc awaits at the intersection of rotation and craftsmanship!
Pro Tip: Film your turning process – watching playback reveals subtle technique errors.
With this guide, you’re equipped to turn ordinary wood blanks into circular masterpieces. Share your creations online using #LatheDiscMastery – we’d love to see what spins off your lathe next!