Source here: https://www.reddit.com/r/woodworking/s/v9pvXPHzyI
Check him out, he's really good.
How to Make a Custom Cutting Board: A Step-by-Step DIY Guide for Stunning & Functional Kitchenware
Crafting your own cutting board is a rewarding woodworking project that combines practicality with creativity. Whether you’re a seasoned DIYer or a beginner, a handmade cutting board makes a beautiful addition to any kitchen or a heartfelt gift. Below, we’ll guide you through the process of creating a durable, food-safe cutting board that rivals store-bought options in both beauty and function.
Why Make Your Own Cutting Board?
- Personalization: Choose unique wood combinations, shapes, and sizes.
- Quality Control: Select food-safe, high-quality materials.
- Sustainability: Use reclaimed or responsibly sourced wood.
- Cost-Effective: Build a luxury board for a fraction of retail prices.
Materials You’ll Need
- Hardwoods: Choose tight-grained, non-toxic woods like maple, walnut, cherry, or birch (avoid oak or pine, which can harbor bacteria).
- Wood Glue: Food-safe, waterproof adhesive (e.g., Titebond III).
- Clamps: For securing glued pieces.
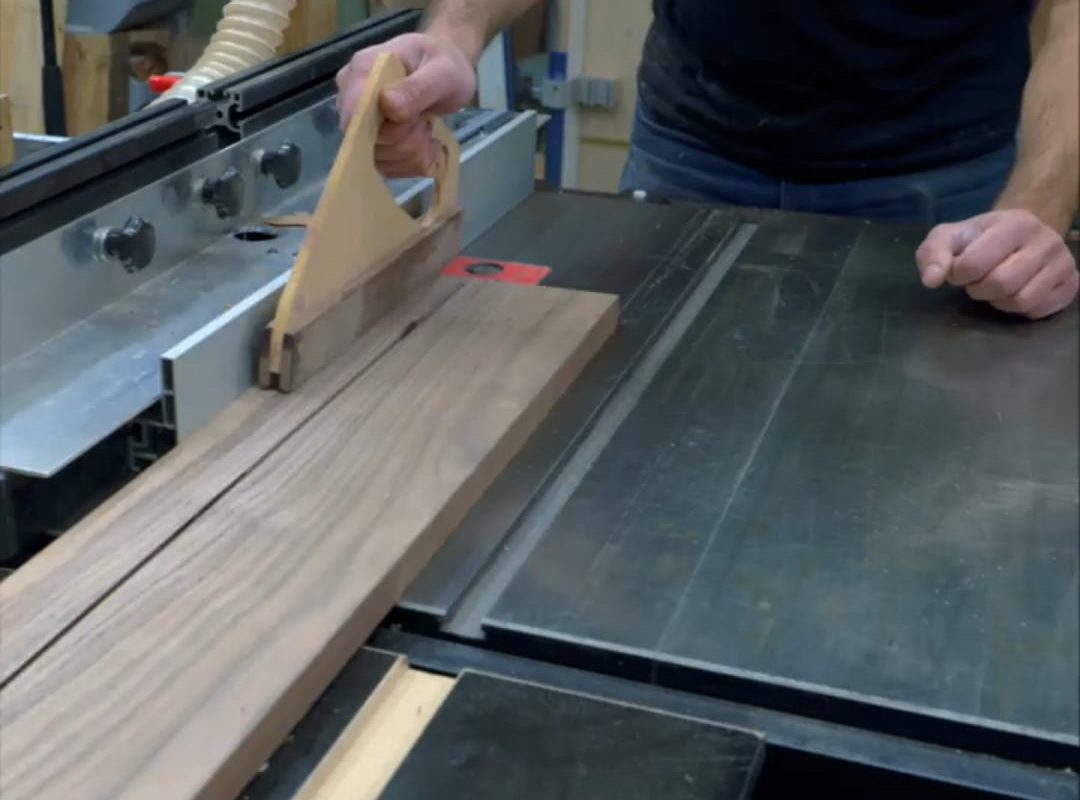
- Table Saw or Circular Saw: For cutting wood to size.
- Planer or Sander: To flatten and smooth the board (a hand planer works too).
- Mineral Oil & Beeswax: For food-safe finishing.
- Safety Gear: Goggles, ear protection, and a dust mask.
Step-by-Step Instructions
Step 1: Design Your Cutting Board
Decide on the size, shape, and pattern:
- Classic Edge Grain: Easiest for beginners; arrange boards side-by-side.
- End Grain Checkerboard: More advanced, using cube-shaped blocks (ideal for knife longevity).
- Creative Inlays: Add accents like colored epoxy or contrasting wood strips.
Pro Tip: Aim for a thickness of 1.25–2 inches for durability.
Step 2: Cut & Arrange the Wood
- Cut your hardwood into strips (e.g., 1.5 inches wide) using a saw.
- Arrange pieces in your desired pattern, alternating wood species for visual contrast.
- Key Tip: Align wood grains in the same direction to reduce warping.
Step 3: Glue & Clamp
- Apply a thin layer of wood glue to the edges of each strip.
- Assemble the strips and clamp them tightly (use cauls or scrap wood to distribute pressure evenly).
- Wipe away excess glue with a damp cloth.
- Let dry for 24 hours.
Step 4: Flatten & Shape the Board
- Remove clamps and sand or plane the board until both sides are flat.
- Trim the board to its final dimensions (e.g., 12” x 18”).
- Round the edges with a router or sandpaper for comfort and safety.
Step 5: Sanding
- Start with coarse-grit sandpaper (80–100 grit) to remove tool marks.
- Progressively refine with 150, then 220+ grit for a silky finish.
- Pro Tip: Use a random orbital sander for efficiency.
Step 6: Apply Food-Safe Finish
- Soak the board in food-grade mineral oil for 10–15 minutes. Wipe off excess.
- Let dry, then apply a homemade board cream:
- Melt 1 part beeswax into 4 parts mineral oil. Cool, then rub into the wood.
- Buff with a cloth for a subtle luster.
Maintenance Tip: Re-oil monthly to prevent drying and cracking.
Safety & Care Tips
- Cleaning: Hand-wash with mild soap; never submerge in water.
- Storage: Keep upright for airflow to avoid warping.
- Restoration: Sand lightly and re-oil if scratched.
Frequently Asked Questions
Q: Can I use softwood like pine for a cutting board?
A: No—softwoods dent easily and have porous grains that trap bacteria.
Q: How do I remove stains or odors?
A: Rub coarse salt and lemon juice onto the surface, then rinse.
Q: Can cutting boards be used for meat?
A: Yes, but sanitize with diluted vinegar after use. Avoid cross-contamination.
Conclusion
Making a cutting board is a fun, functional project that yields a kitchen essential you’ll be proud to use daily. By choosing quality materials and finishing with care, your handmade board will withstand years of chopping, slicing, and dicing. Ready to start? Gather your tools, pick your favorite woods, and craft a masterpiece that’s truly cutting-edge!
Ready to get started? Share your DIY cutting board creations with #HomemadeCuttingBoard!