Source: Sam – South Coast Sealants Ltd
The Ultimate Guide to Applying Bathroom Sealant: Protect Your Space from Water Damage
Bathroom sealant (also known as caulk) is a critical barrier against moisture, mold, and structural damage in wet areas. Whether you’re refreshing an old seal or completing a bathroom renovation, applying sealant correctly ensures a watertight, professional finish. In this step-by-step guide, you’ll learn how to apply bathroom sealant like a pro—avoiding common pitfalls and ensuring long-lasting protection.
Why Bathroom Sealant Matters
Water is bathroom enemy #1. Over time, moisture seeping into gaps around sinks, bathtubs, showers, and floors can cause:
- Mold & mildew growth
- Wood rot (in subfloors or cabinetry)
- Tile damage from loosened grout
- Structural weakening of walls or floors
A properly applied sealant creates a flexible, waterproof seal that expands and contracts with temperature changes, keeping your bathroom safe and pristine for years.
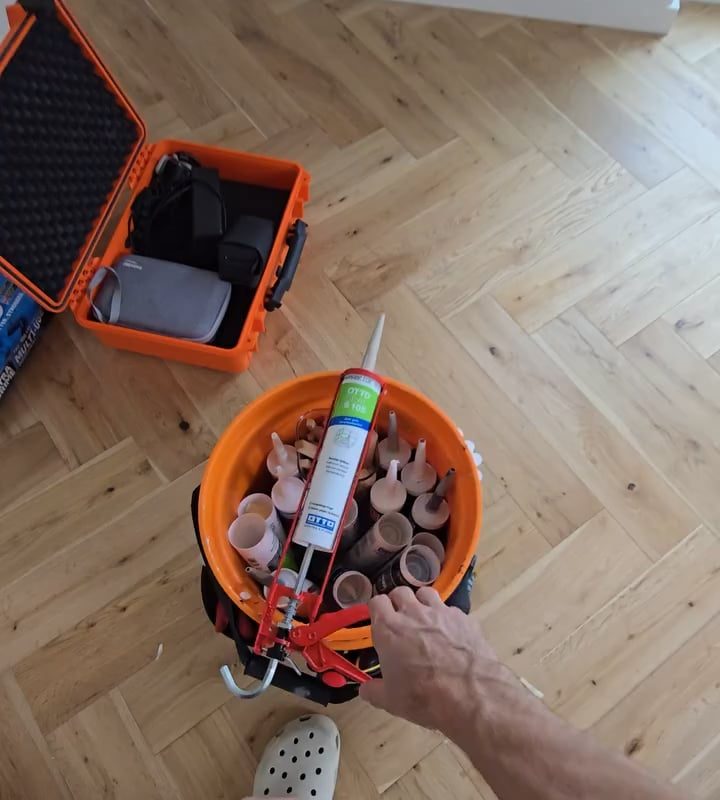
Tools & Materials You’ll Need
- Silicone-based bathroom sealant (mold-resistant recommended)
- Caulking gun
- Utility knife or sealant removal tool
- Painter’s tape
- Rubbing alcohol or white vinegar (for cleaning)
- Lint-free cloth or paper towels
- Disposable gloves
- Smooth tool (e.g., caulk finishing tool, plastic spoon, or damp finger)
Step-by-Step Guide to Applying Bathroom Sealant
1. Prepare the Surface
- Remove old sealant: Use a utility knife or sealant scraper to cut away deteriorated caulk. Be careful not to scratch tiles or fixtures.
- Clean thoroughly: Wipe the area with rubbing alcohol or a 50/50 vinegar-water mix to remove residue, soap scum, and grease. Let it dry completely.
- Ensure surfaces are dry: Moisture trapped under sealant causes mold!
2. Apply Painter’s Tape (Optional but Recommended)
For razor-straight lines:
- Place tape parallel to the gap, leaving 2–3mm of space between tape strips. This creates a guide for neat application and easy cleanup.
3. Load the Caulking Gun
- Cut the sealant tube nozzle at a 45-degree angle. The hole should be slightly smaller than the gap you’re filling.
- Insert the tube into the gun and push the plunger until sealant flows from the nozzle.
4. Apply the Sealant
- Hold the gun at a 45-degree angle to the surface.
- Slowly squeeze the trigger while pulling the gun steadily along the gap. Aim for a continuous, smooth bead—don’t stop/start.
- Don’t overfill: The sealant should slightly bulge into the gap but not spill over the edges.
5. Smooth the Sealant
- Dampen your finger, a plastic spoon, or a caulk-smoothing tool with water (or soapy water to prevent sticking).
- Gently glide along the bead in one steady motion to flatten it and push sealant into the gap. Wipe excess with a cloth.
6. Remove Painter’s Tape
Pull the tape away slowly at a 45-degree angle immediately after smoothing to avoid disturbing the sealant.
7. Let It Cure
- Drying time varies by product (check the label!). Most silicone sealants need 24–48 hours to fully cure.
- Avoid using the shower/bath or getting the area wet during this time.
Common Mistakes to Avoid
- Not removing old sealant: New sealant won’t adhere properly over old, cracked material.
- Skipping cleaning: Grease or dust prevents adhesion.
- Rushing the cure time: Premature water exposure causes peeling or bubbling.
- Using the wrong sealant: Always choose a 100% silicone or silicone hybrid product labeled for bathrooms. Avoid acrylic caulk—it’s not waterproof enough.
Maintenance Tips
- Check annually: Inspect seals for cracks, gaps, or discoloration.
- Clean gently: Use non-abrasive cleaners to avoid degrading the sealant.
- Reapply as needed: Reseal every 2–5 years or at the first sign of wear.
FAQs about Bathroom Sealant
Q: How long does bathroom sealant last?
A: High-quality silicone lasts 5–10 years if applied correctly. Frequent cleaning with harsh chemicals can shorten its lifespan.
Q: Can I apply sealant over mold?
A: Never! Remove mold completely first using bleach or a commercial mold remover, then dry the area before resealing.
Q: What’s the best sealant color?
A: Clear or white are most common. Match it to your tiles/grout for a seamless look.
Final Thoughts
Applying bathroom sealant is a simple, cost-effective way to protect your home from costly water damage—and it’s a DIY job anyone can tackle. With the right tools, preparation, and patience, you’ll achieve a clean, durable seal that keeps your bathroom looking flawless.
Need help? If gaps are large (>5mm), consider using a backer rod (foam filler) before sealing for extra support. For complex jobs, consult a professional.
Keywords for SEO: applying bathroom sealant, how to apply silicone sealant, caulking a bathroom, bathroom sealant tips, DIY sealant application, waterproof bathroom seals, silicone caulk guide.