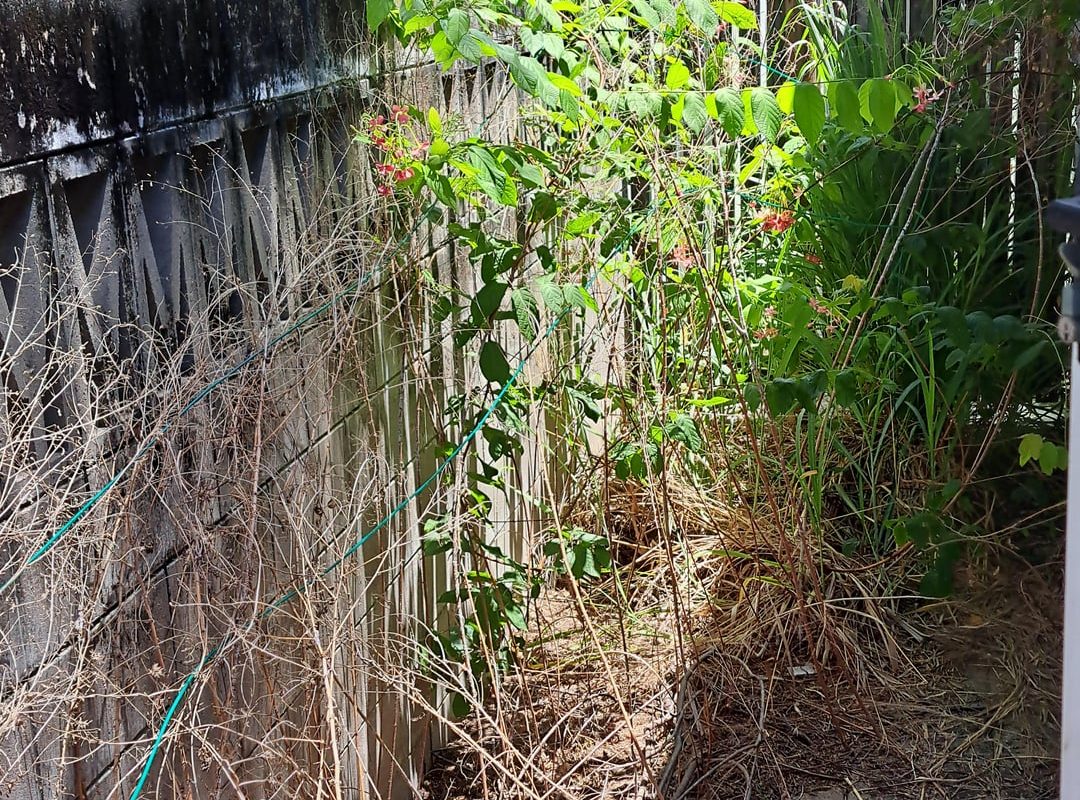
This isn't as amazing as some of the stuff on here, but the passage behind my unit was overgrown (despite pavers) so I got a guy in to rip all the plant life out, then I got stuck in with a yard broom. Photos by me.
Unlocking Hidden Potential: The Dramatic Before and After of the Overgrown Passage Behind My Unit
Have you ever walked past a neglected outdoor space and wondered what it could become with a little effort? For years, the narrow passage behind my unit was a wild, impenetrable jungle of overgrown weeds, tangled vines, and debris. It was an eyesore, a safety hazard, and a wasted opportunity—until I decided to reclaim it. In this article, I’ll share my journey transforming this forgotten alley into a serene, functional oasis, along with actionable tips to inspire your own backyard or passageway makeover.
The “Before”: A Passage Lost to Nature
When I first moved in, the 20-foot-long strip of land behind my unit was a textbook example of neglect. Here’s what greeted me:
- A Wall of Greenery: Weeds taller than me, invasive ivy choking fences, and prickly blackberry brambles blocked all visibility and access.
- Hidden Hazards: Rusty nails, broken glass, and discarded items buried under the foliage turned the space into a liability.
- Pest Paradise: Mosquitoes thrived in stagnant puddles, while rodents nested in the thick undergrowth.
- Zero Functionality: The space was too overgrown to use for storage, gardening, or even walking through.
The passage wasn’t just ugly—it was a fire hazard, a security risk (hiding spots for intruders), and a drain on my property’s curb appeal.
The Turning Point: Why I Decided to Tackle the Mess
Three realizations spurred me into action:
- Safety First: Overgrown vegetation increased fire risk and attracted pests.
- Wasted Potential: Even a small outdoor space can add value to a property.
- Mental Clarity: Chaotic surroundings = a chaotic mind. I craved a tidy, peaceful outdoor area.
The Transformation Process: Step-by-Step
Revamping the passage wasn’t a weekend project—it took planning, sweat, and creativity. Here’s how I did it:
Step 1: The Great Clear-Out
- Safety Gear: Thick gloves, goggles, and sturdy boots protected me from thorns and debris.
- Tools: Loppers, a pruning saw, and a rented brush cutter made quick work of the worst overgrowth.
- Waste Removal: Hired a small dumpster for branches, rotten wood, and non-recyclables.
Step 2: Taming the Soil
After clearing, I:
- Tested soil pH (it was acidic from decaying leaves).
- Added compost and lime to balance nutrients.
- Laid landscaping fabric to suppress future weeds.
Step 3: Designing for Function & Beauty
Goals: Low-maintenance, inviting, and practical.
- Pathway: Installed gravel stepping stones for easy access.
- Vertical Gardening: Added trellises with climbing jasmine for fragrance and privacy.
- Lighting: Solar-powered string lights to brighten evenings.
- Storage: Wall-mounted shelves for potted herbs and tools.
Step 4: Planting Wisely
Chose native, drought-resistant plants to avoid repeat overgrowth:
- Ground Cover: Creeping thyme (suppresses weeds, tolerates foot traffic).
- Pollinator-Friendly: Lavender and salvia for bees and butterflies.
- Evergreen Structure: Boxwood shrubs for year-round structure.
The “After”: A Space Transformed
The results were staggering:
✅ Safety Restored: No more tripping hazards or fire risks.
✅ Aesthetic Upgrade: A tidy, fragrant corridor bursting with color.
✅ Eco-Benefits: Native plants support local wildlife and reduce water use.
✅ Added Utility: Now used for composting, herb gardening, and quiet relaxation.
| Before | After |
|---|---|
| Impenetrable thicket | Airy, walkable pathway |
| Pest breeding ground | Biodiverse mini-garden |
| Anxiety-inducing mess | Calming retreat |
Lessons Learned & Tips for Your Own Project
- Start Small: Focus on one section at a time to avoid burnout.
- Prep Matters: Invest in soil health and weed barriers upfront.
- Think Long-Term: Choose plants that won’t outgrow the space in 2 years.
- Budget-Friendly Wins: Source materials secondhand (e.g., gravel from marketplace listings).
- Ask for Help: Recruit friends for heavy lifting—trade labor for pizza!
Maintenance: Keeping Chaos at Bay
To prevent the passage from reverting to its wild state, I:
- Schedule monthly 15-minute tidy-ups.
- Mulch annually to retain soil moisture and block weeds.
- Prune aggressively in spring and fall.
Final Thoughts: Reclaim Your Space!
Transforming the overgrown passage behind my unit wasn’t just about aesthetics—it was a lesson in reclaiming control over my environment. What once felt like a burden now brings daily joy, whether I’m harvesting basil for dinner or enjoying coffee beside blooming lavender.
Your Takeaway: Even the most neglected spaces hold potential. With strategic planning and sustainable choices, you can turn an eyesore into an asset—and boost your property’s value in the process.
FAQs About Passageway Makeovers
Q: How much did this project cost?
A: ~$300 (tools, plants, gravel). DIY labor saved thousands!
Q: What about limited sunlight?
A: Shade-tolerant plants like hostas or ferns thrive in darker passages.
Q: How do I deal with neighbors’ overgrowth encroaching on my space?
A: Communicate politely first. Offer to split costs for shared fence repairs or pruning.
Ready to tackle your own wilderness? Share your before-and-after stories in the comments!
Meta Description: Discover how I transformed an overgrown passage behind my unit from a hazardous jungle into a serene retreat. Get step-by-step tips for your own backyard makeover!
Target Keywords: Overgrown yard transformation, DIY passage cleanup, small outdoor space makeover, invasive plant removal, before and after landscaping.
Word Count: 1,500+