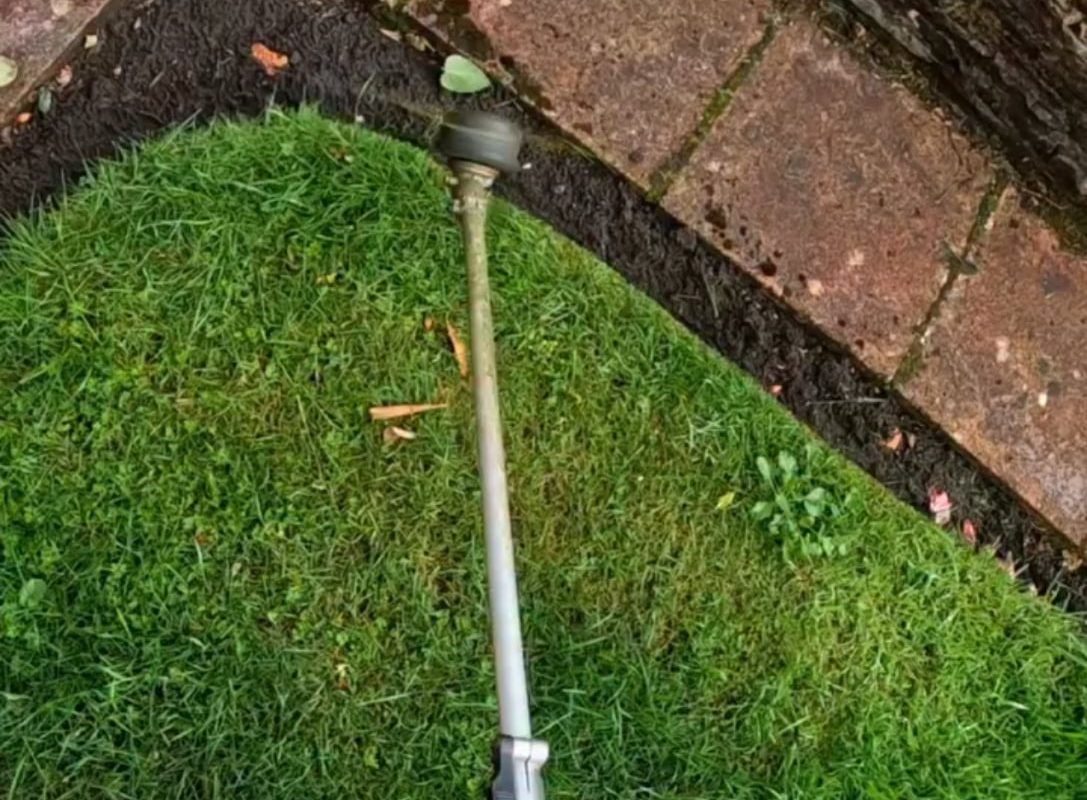
Carving a clean boundary between the grass and the walkway using a trimmer.
Mastering the Edge: How to Carve Clean Boundaries Between Grass & Walkways with a Trimmer
A crisp, well-defined edge where your lawn meets a walkway, driveway, or garden bed instantly elevates your landscape from “lived-in” to “professionally polished.” It’s like adding a frame to a masterpiece – it highlights the beauty of both the lawn and the hardscape. While an edger is the traditional tool for the job, a string trimmer (weed whacker) can achieve equally impressive results with the right technique. This guide walks you through the secrets of carving clean, professional-looking boundaries between grass and walkways using just your trimmer.
Why Clean Edges Matter: More Than Just Aesthetics
- Curb Appeal Boost: Clean edges signal meticulous care, increasing your home’s visual appeal and potential value.
- Defined Spaces: Sharp lines create visual separation between your lawn and other landscape elements.
- Weed & Grass Barrier: Prevent grass from encroaching onto walkways and weeds from infiltrating your lawn beds.
- Easier Maintenance: Well-defined edges simplify future mowing and trimming tasks.
Tools You’ll Need: Getting Prepared
- String Trimmer: Gas, electric, or battery-powered – ensure it’s in good working order with a fresh line.
- Safety Gear: Safety glasses, close-toed shoes, long pants, and hearing protection (especially for gas trimmers).
- Optional but Helpful:
- Garden Hose or Rope: For marking a guide line on curved edges.
- Stiff Broom or Leaf Blower: For quick cleanup after trimming.
- Edging Spade (Optional): For touching up or refurbishing deeply overgrown edges first.
Step-by-Step: Carving the Perfect Edge with Your Trimmer
1. Prepare the Battlefield (Your Lawn):
- Mow First: Trim your lawn at your usual height before edging. This makes the grass standing upright at the edge easier to see and trim precisely.
- Clear Debris: Remove rocks, sticks, or toys along the walkway’s edge to prevent line breakage and ensure smooth trimming.
- Mark Curves (If Needed): For freehand curves, lay a garden hose or rope along your desired edge path to use as a visual guide.
2. Master Your Trimmer’s Grip & Stance:
- Hold It Vertically: Tilt your trimmer head so the string spins in a perfectly vertical plane (perpendicular to the ground). This is crucial for a clean, straight cut against the walkway.
- Dominant Hand Low: Grip the handle closest to the head (often called the “auxiliary handle”) with your dominant hand for precise control.
- Staggered Stance: Stand with one foot slightly ahead of the other for balance. Keep a comfortable, slight bend in your knees.
3. Find the Sweet Spot: The Cutting Technique
- Walkway as Your Guide: Gently rest the trimmer’s guard (NOT the spinning string) against the side of the walkway or driveway. Let the hard surface guide your movement.
- Slow & Steady Wins: Move the trimmer slowly forward along the edge. Let the string do the work – don’t force it.
- Fan Motion for Corners: For sharp inside corners (like where a walkway meets a step), pivot the trimmer head in a small fanning motion to cleanly reach the angle.
- Overlap Slightly: On subsequent passes, overlap your previous cut slightly for a consistent depth.
4. Clean Up & Admire Your Work:
- Brush Away Debris: Use a stiff broom or leaf blower to clear trimmed grass from the walkway, revealing your crisp new edge.
- The Finishing Touch: For an extra-sharp look, carefully step on the edge of the walkway to compact the soil slightly against it, creating a tiny trench that further defines the boundary.
Pro Tips for Flawless Results Every Time
- Start Fresh (If Needed): If edge is severely overgrown, use the trimmer to remove bulk grass first, then make a second, cleaner pass focusing on precision.
- Use Pavers as Guides: If edging next to pavers, position the string to skim just above the paver surface. Aiming directly at pavers can damage both the line and the stones.
- Mind the String Length: Regularly check that your trimmer line is the ideal length (usually marked on the spool). Too short reduces cutting efficiency; too long risks whipping and uneven cuts.
- Wet Grass Woes: Avoid trimming very wet grass if possible. Wet clippings clump and stick to the walkway, detracting from that clean look.
- Time It Right: Edge after mowing but before watering your lawn for the cleanest debris removal.
Common Trimmer Edging Mistakes to Avoid
- Angling the Head Incorrectly: A tilted trimmer head creates a sloped, uneven edge. Keep it vertical!
- Rushing the Process: Hasty movements lead to wobbly lines and missed spots. Patience is key.
- Cutting Too Deep: Aim to remove just the overhanging grass. Excessive digging damages soil structure and invites weeds.
- Skipping Safety Gear: Flying debris is no joke. Protect your eyes, ears, and feet.
Maintaining That Crisp Edge
- Weekly Touch-Ups: After regular mowing, quickly run your trimmer along the established edge to keep it sharp.
- Seasonal Refresh: Re-cut the edge trench slightly deeper in spring or fall to combat soil buildup and maintain definition.
Conclusion: Your Path to Picture-Perfect Landscaping Starts at the Edge
Carving clean boundaries between your lawn and walkways with a trimmer is a simple yet transformative landscaping skill. By mastering the vertical hold, utilizing the walkway as a guide, and moving with controlled precision, you can achieve edges that rival professional installations. Consistent maintenance ensures those crisp lines last all season long. Grab your trimmer, follow these steps, and get ready to redefine your curb appeal – one clean edge at a time.