Creating earrings from polymer clay.
Creating Earrings from Polymer Clay: A Comprehensive Guide for DIY Jewelry Lovers
Polymer clay earrings have taken the handmade jewelry world by storm, offering endless opportunities for creativity, customization, and vibrant self-expression. Whether you’re a seasoned crafter or a complete beginner, this guide will walk you through every step of making stunning, lightweight, and durable polymer clay earrings that rival boutique designs.
Why Polymer Clay?
Polymer clay is a versatile, oven-bake modeling material that’s perfect for jewelry-making due to its:
- Flexibility: Easily shaped, textured, and blended.
- Durability: Bakes into a hardy, lightweight finish.
- Color Variety: Available in every hue, including metallics, translucents, and glow-in-the-dark options.
- Accessibility: Affordable and beginner-friendly.
Materials You’ll Need
Gather these essentials before starting your polymer clay earring project:
- Polymer clay (e.g., Sculpey, Fimo, or Cernit).
- Clay tools: Rolling pin (or pasta machine), craft knife, sculpting tools.
- Cutters: Miniature cookie cutters (geometric shapes, florals) or a craft knife for custom shapes.
- Work surface: Glass, ceramic tile, or silicone mat.
- Earring findings: Studs, hooks, jump rings, and earring posts.
- Sandpaper (400–800 grit) and varnish/sealer (optional for a glossy finish).
- Oven or toaster oven (dedicated to crafts, not food).
Pro Tip: Avoid metallic clays touching food-prep tools, as they contain real metals like copper or mica.
Step-by-Step Tutorial
1. Condition the Clay
Knead your chosen clay until it’s soft and pliable. This removes air bubbles and ensures even texture.
2. Shape Your Earrings
- Roll it flat: Use a rolling pin to create an even slab (ideally 2–4mm thick for durability).
- Cut shapes: Use mini cutters or carve designs freehand.
- Add texture: Press lace, stamps, or tools into the clay for unique patterns.
- Layer colors: Create ombre effects or “canes” (log-shaped patterns) for intricate designs.
3. Bake According to Instructions
- Preheat your oven to the temperature specified on the clay packaging (usually 265–275°F).
- Place pieces on parchment paper or a ceramic tile.
- Bake for 15–30 minutes (time varies by thickness and brand). Avoid overbaking to prevent darkening!
- Let cool completely before handling.
4. Sand & Polish
Lightly sand rough edges with fine-grit sandpaper. Wipe clean with a damp cloth.
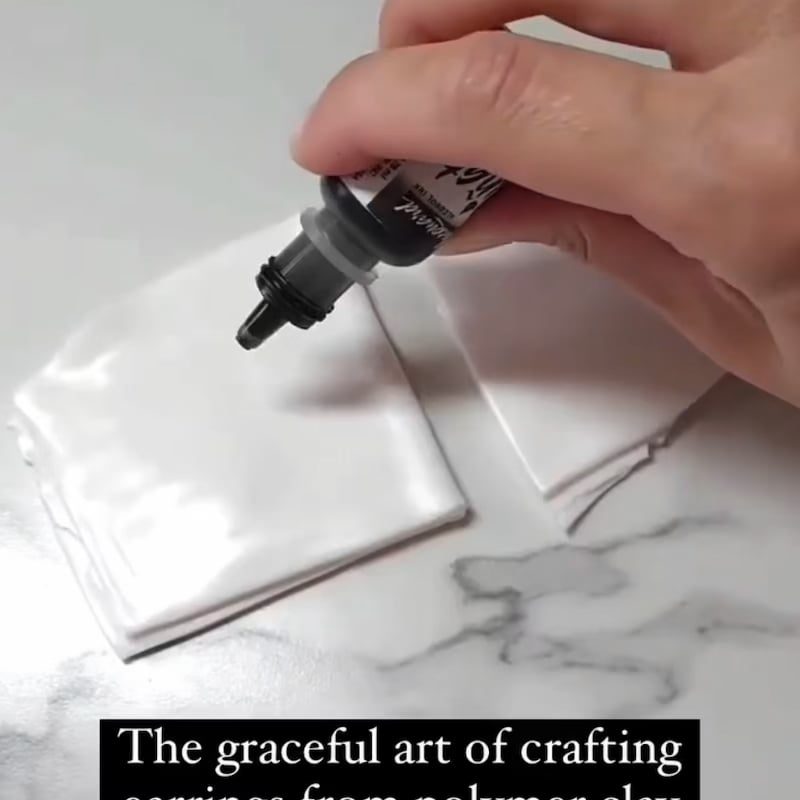
5. Seal (Optional)
Apply a thin layer of varnish, resin, or liquid clay for extra shine and protection.
6. Attach Earring Findings
- Use jump rings and pliers to connect baked pieces to earring hooks or studs.
- For studs, glue findings to the back with strong adhesive like E6000.
Design Ideas to Inspire You
- Minimalist Chic: Marbled pastels, geometric studs, or tiny abstract shapes.
- Nature-Inspired: Leaves, flowers, or faux stone/wood textures.
- Statement Styles: Oversize hoops, dangling beads, or quirky charms.
- Metallic Accents: Rub gold/silver leaf into the clay pre-baking.
- Personalized Touch: Embed tiny initials or birthstones.
Pro Tips for Flawless Results
- Avoid Breakage: Ensure pieces are thick enough (no thinner than 2mm).
- Stay Clean: Work in a dust-free area to prevent debris sticking to the clay.
- Test Baking: Use an oven thermometer to verify temperature accuracy.
- Fingerprint Fix: Wear gloves or wipe clay with rubbing alcohol pre-bake for a smooth finish.
Why Sell Your Polymer Clay Earrings?
Handmade polymer clay jewelry is highly marketable! Its lightweight comfort, custom designs, and trend-driven appeal make it perfect for:
- Etsy shops
- Craft fairs
- Social media (Instagram, TikTok)
Final Thoughts
Creating earrings from polymer clay blends artistry with accessibility, letting you design wearable art that reflects your unique style. With practice, you’ll master color mixing, texturing, and finishing techniques to produce professional-quality pieces. So gather your supplies, embrace experimentation, and let your creativity shine—one dazzling pair at a time!
SEO Keywords: DIY polymer clay earrings, polymer clay jewelry tutorial, handmade earrings, polymer clay techniques, how to make clay earrings, lightweight statement earrings, polymer clay ideas.
Ready to start crafting? Share your creations with #PolymerClayEarrings! 🌈✨