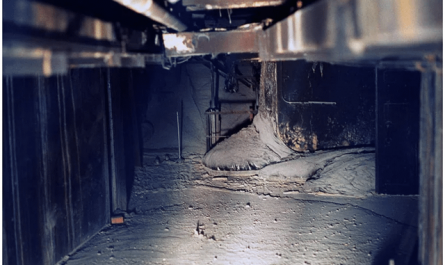
Edging a polycarbonate progressive lens
Edging Polycarbonate Progressive Lenses: A Comprehensive Guide for Precision and Performance
Progressive lenses offer wearers a seamless transition between distance, intermediate, and near vision—all without the telltale lines of traditional bifocals. Polycarbonate, known for its lightweight properties and impact resistance, is a popular material choice for these lenses. However, edging polycarbonate progressive lenses requires special attention to maintain optical accuracy, durability, and aesthetic appeal. In this guide, we’ll break down the challenges, best practices, and expert tips for successfully edging polycarbonate progressive lenses.
Why Polycarbonate Progressive Lenses Demand Special Care
Polycarbonate lenses possess unique characteristics that make edging more complex than standard plastic or glass lenses:
- Material Flexibility: Polycarbonate is softer and more flexible than CR-39 plastic, increasing the risk of chipping or stress marks during edging.
- Impact Resistance: While durable, their brittleness can lead to edge defects if cut too aggressively.
- Optical Complexity: Progressive lenses have intricate designs that require precise centration. Misalignment during edging can distort the progressive corridor, causing visual discomfort.
Key Challenges in Edging Polycarbonate Progressive Lenses
-
Preventing De-Centration
Progressive lenses rely on exact pupil measurements (e.g., monocular PD and fitting height). Improper blocking or edging can shift the optical center, disrupting the progressive zone alignment. -
Minimizing Stress Marks
Polycarbonate’s thermal sensitivity means excessive heat from high-speed edgers can create micro-cracks or hazy edges, compromising clarity. -
Edge Chipping
Cutting too aggressively or using dull blades may chip the edges, especially around bevels or grooved frames. -
Maintaining Lens Coatings
AR (anti-reflective) or scratch-resistant coatings can peel if exposed to vibration/friction during edging.
Best Practices for Edging Polycarbonate Progressives
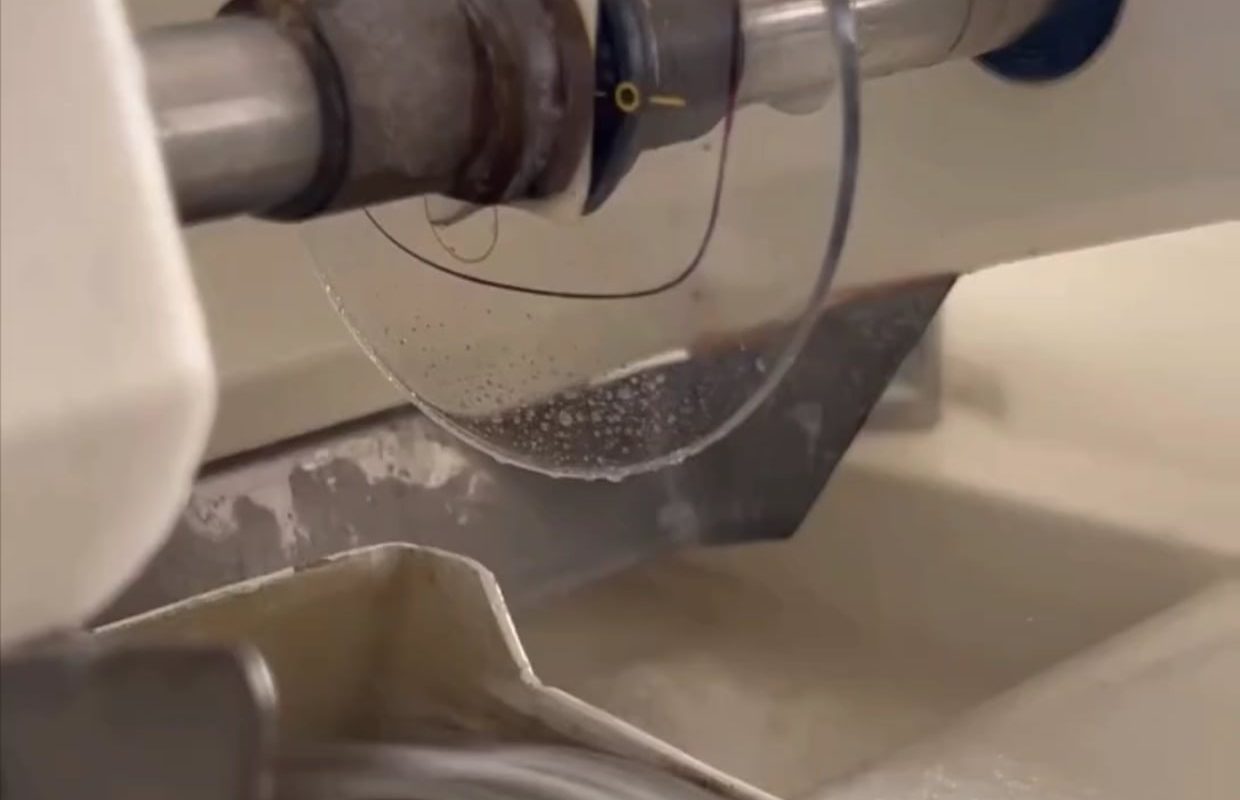
1. Use the Right Equipment
- Edger Type: Opt for slow-speed edgers with polycarbonate-specific settings. High-speed edgers generate heat, increasing stress risks.
- Blade Quality: Diamond-coated or ceramic blades ensure clean cuts without rough edges. Replace blades frequently to avoid tear-out.
- Lubrication: Always use water-soluble coolant to reduce friction and heat buildup.
2. Accurate Frame Tracing and Blocking
- 3D Frame Tracing: Capture precise frame measurements digitally to minimize alignment errors.
- Blocking: Use adhesive blocks compatible with polycarbonate. Ensure the lens is perfectly leveled to the blocker to prevent axis rotation.
3. Progressive Lens Alignment
- Verify the fitting cross and progressive corridor alignment using a lensometer before edging.
- Double-check the lens’s engraved markings (e.g., brand logo, fitting cross) to ensure correct orientation in the edger software.
4. Optimal Cutting Parameters
- Speed Settings: Reduce spindle speed to 3,000–4,000 RPM for polycarbonate.
- Feed Rate: Use a slower feed rate to prevent chipping.
- Bevel Placement: Adjust the bevel to match the frame’s groove (e.g., fullgroove vs. halfgroove) for a seamless fit.
5. Post-Edging Finishing
- Polishing: Hand-polish edges with fine-grit pads or cork wheels for a smooth finish.
- Inspection: Check edges under magnification for micro-cracks or coating damage.
Step-by-Step Edging Process
- Verification: Confirm Rx accuracy, PD, and fitting height.
- Blocking: Secure the lens with a high-adhesion blocker.
- Edger Setup: Input frame data and select polycarbonate mode.
- Cutting: Monitor the process for vibrations or heat signs.
- De-blocking & Cleaning: Remove the lens gently to avoid stress.
- Quality Control: Verify alignment, edge integrity, and fit in the frame.
Troubleshooting Common Issues
- Stress Marks: Reduce edger speed or increase lubrication.
- Edge Chipping: Replace blades or use a slower feed rate.
- Decentration Errors: Re-verify blocking alignment and lens markings.
Conclusion
Edging polycarbonate progressive lenses requires a blend of precision technology, material expertise, and meticulous quality control. By leveraging the right tools, techniques, and attention to detail, opticians and lab technicians can ensure these lenses deliver optimal vision, comfort, and longevity. Always prioritize slow, controlled processes over speed—accuracy is non-negotiable for progressive lens performance.
Pro Tip: Train technicians regularly on polycarbonate-specific protocols and invest in updated edging software for digital progressive designs.
Keywords: Edging polycarbonate progressive lenses, progressive lens edging, polycarbonate lens cutting, optical lab techniques, eyeglass lens manufacturing, progressive lens alignment, optical lens edging best practices.
By following this guide, you’ll minimize errors and enhance customer satisfaction—delivering lenses that look sharp and perform flawlessly. 🔍👓