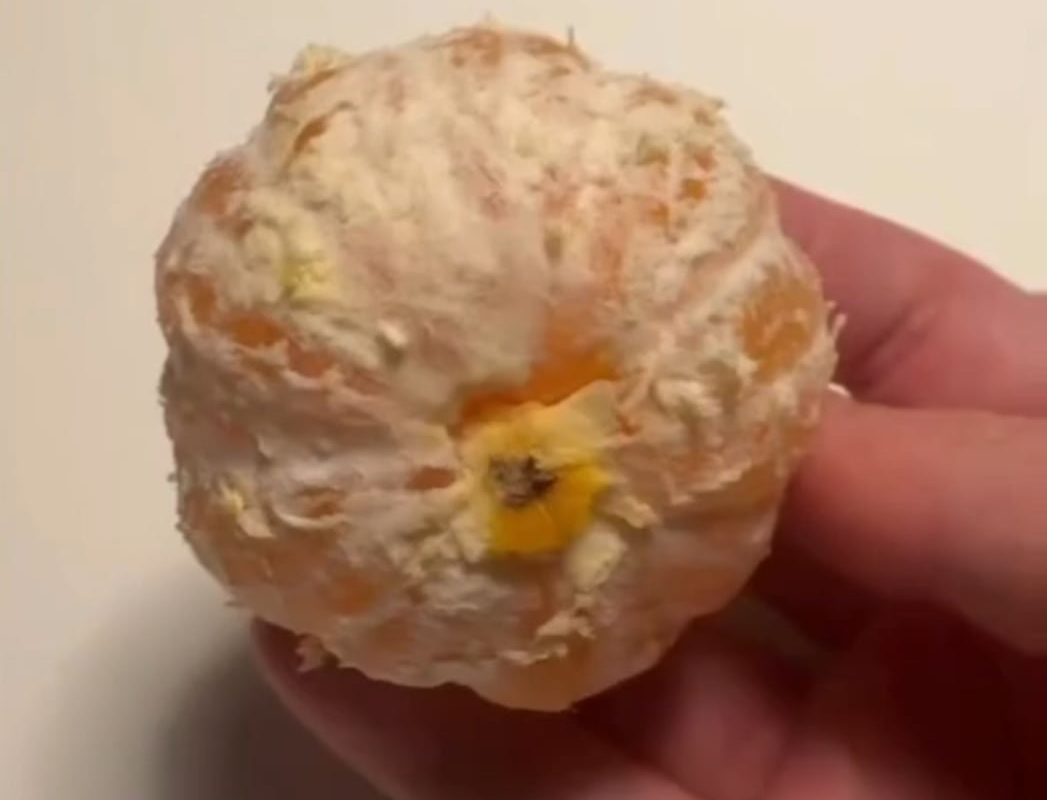
Perfectly peeled orange
Unlock the Secret to the Perfectly Peeled Orange: A Mess-Free, Enjoyable Experience
Oranges are nature’s sweet, vitamin C-packed gift, but peeling them often leads to sticky fingers, torn segments, or wasted fruit. Achieving a perfectly peeled orange isn’t just about aesthetics—it ensures maximum enjoyment, minimal mess, and preserves every juicy bite. Whether you’re packing a lunchbox, garnishing a dish, or just craving a hassle-free snack, mastering this skill will transform your citrus experience.
Why Does Perfect Peeling Matter?
A flawless peel job isn’t just for Instagram-worthy photos. Here’s why it’s worth the effort:
- Preserves freshness: Minimizes damage to the fruit, keeping segments plump and juicy.
- Reduces waste: Avoids tearing the flesh or leaving pith (the bitter white layer) attached.
- Saves time: Faster than wrestling with stubborn rind or picking off stray pieces.
- Kid-friendly: Perfectly peeled oranges are easier for children or elderly individuals to enjoy.
Tools You’ll Need
- A ripe navel orange: Thicker skin makes peeling easier.
- Sharp paring knife (optional): For scoring or cutting the top off.
- Spoon (optional): Helps separate peel from flesh.
- Plate or bowl: Catches any drips for a tidy workspace.
Step-by-Step Guide to the Perfect Peel
Method 1: The Classic Hand-Peeling Technique
This method requires no tools and works best with room-temperature oranges.
- Wash the orange: Remove dirt or wax to avoid contaminating the fruit.
- Create a starter point: Use your thumbnail to pierce the skin near the top (stem end).
- Peel in spirals: Working downward, gently pull the rind away in long strips, following the curve of the fruit.
- Remove pith: Scrape off any remaining white bits with your fingernail or a spoon.
Pro Tip: Roll the orange firmly on a countertop before peeling—this loosens the skin by breaking down membranes inside.
Method 2: Knife-Scoring for Precision
Ideal for presentations (e.g., salads or desserts) or thicker-skinned varieties.
- Cut off the top and bottom: Slice ¼ inch from each end to create flat surfaces.
- Score vertically: Make a shallow cut from top to bottom, just deep enough to pierce the rind.
- Unwrap the orange: Use your fingers to unroll the peel like a wrapper. The orange should remain intact!
Method 3: The Spoon Method for Maximum Juice Retention
Perfect for soft oranges or keeping segments wholly intact.
- Slice off the top: Remove the stem end as in Method 2.
- Insert a spoon: Slide a spoon between the rind and flesh, rotating it around the fruit to separate them.
- Pop it out: The peeled orange will slide out seamlessly, ready to eat or slice.
Tips for a Mess-Free Experience
- Chill slightly: Refrigerate oranges for 20 minutes to firm up the flesh and reduce squishing.
- Avoid long nails: Trim nails to prevent puncturing the fruit while peeling.
- Save the zest: Grate leftover peel for baking or cocktails—it’s packed with aromatic oils!
Creative Ways to Use Perfectly Peeled Oranges
- Fruit salads: Uniform segments add elegance.
- Garnish for dishes: Top grilled fish, desserts, or cocktails.
- Freeze for smoothies: Peeled, segmented oranges freeze beautifully.
- Kids’ snacks: Serve as “orange smiles” or fun shapes with cookie cutters.
Troubleshooting Common Peeling Problems
- Too hard to peel? Microwave the orange for 10-15 seconds to soften the skin.
- Bitter taste? Ensure all pith is removed—this layer contains tannins.
- Juice explosion? Peel over a bowl to catch spills, or do it under running water.
Conclusion: Embrace the Zen of Peeling
A perfectly peeled orange isn’t just a kitchen hack—it’s a small act of mindfulness that enhances your enjoyment of this vibrant fruit. With these methods, you’ll waste less, savor more, and elevate everyday snacks into moments of simple luxury.
Hungry for more citrus wisdom? Share your favorite peeling technique in the comments below! 🍊