Removing snow from roof with a rope
Title: How to Remove Snow from Your Roof with a Rope: A Safe DIY Guide
Meta Description: Discover a step-by-step guide to safely remove snow from your roof using a rope. Protect your home from ice dams, leaks, and structural damage with this cost-effective DIY method.
Introduction
Heavy snowfall can cause serious problems for homeowners, from ice dams and leaks to structural stress. While professionals often use roof rakes or heated cables, a simple rope can be an effective tool for snow removal—if done safely and correctly. In this guide, you’ll learn how to use a rope to clear snow from your roof, minimizing risks to both you and your home.
Why Remove Snow from Your Roof?
Ignoring snow accumulation can lead to:
- Ice dams that trap moisture and damage shingles.
- Gutter strain or collapse from excessive weight.
- Roof leaks due to melting snow refreezing under shingles.
- Structural stress, especially on flat or older roofs.
A rope-based method is ideal for sloped roofs and avoids the need to climb a ladder or stand on icy surfaces.
Safety First: Precautions
Before starting:
- Assess the snow depth: Only remove snow if safe to do so from the ground.
- Check for hazards: Look for overhead power lines or unstable structures.
- Wear protective gear: Gloves, goggles, and slip-resistant boots are essential.
- Never work alone: Have a partner nearby for emergencies.
- Avoid metal blades or sharp tools: These can damage roofing materials.
⚠️ When to Call a Pro: If snow exceeds 12 inches, or your roof is steep, fragile, or multi-story, hire professionals instead.
Step-by-Step Guide to Removing Snow with a Rope
What You’ll Need:
- A 50–100 ft nylon or polypropylene rope (¼–½ inch thick).
- Small weights (e.g., rubber balls or fabric knots) tied at 2–3 ft intervals.
The Process:
-
Anchor the Rope:
- Secure one end of the rope to a sturdy object on the ground (e.g., a tree or post) opposite your roof’s slope.
-
Throw the Rope Over the Roof:
- Toss the weighted end over the ridge (peak) of the roof. Ensure weights are soft to avoid damaging shingles.
-
Position the Rope:
- Adjust the rope so it lays perpendicular to the ridge, covering the snow-laden area.
-
Pull in a Sawing Motion:
- Stand at a safe distance and gently pull the rope back and forth in a sawing motion. The weights will cut through the snow layer, causing it to slide off in sections.
-
Repeat Downward:
- Move the rope lower down the slope and repeat until most snow is cleared. Focus on upper sections first to prevent heavy lower layers from accumulating.
Pros and Cons of the Rope Method
✅ Pros:
- Cost-effective and uses minimal equipment.
- Ground-based, reducing fall risks.
- Gentle on shingles compared to metal tools.
❌ Cons:
- Less efficient for thick, dense snow or ice layers.
- Requires physical effort and coordination.
- Not suitable for flat roofs or complex roof shapes.
Additional Tips for Success
- Time it right: Remove snow after a storm, before it compacts or refreezes.
- Prevent ice dams: Pair rope snow removal with attic insulation and ventilation fixes.
- Monitor weak spots: Pay extra attention to valleys, skylights, and eaves where ice dams form.
Conclusion
Using a rope to remove snow from your roof is a practical, low-cost solution for light to moderate snowfall. By following the steps above, you can protect your home from winter damage while staying safe on the ground. Always prioritize safety—when in doubt, consult a roofing professional to avoid accidents or costly repairs.
Keywords: Remove snow from roof with rope, DIY roof snow removal, roof snow removal safety, prevent ice dams, home winter maintenance, roof snow sliding.
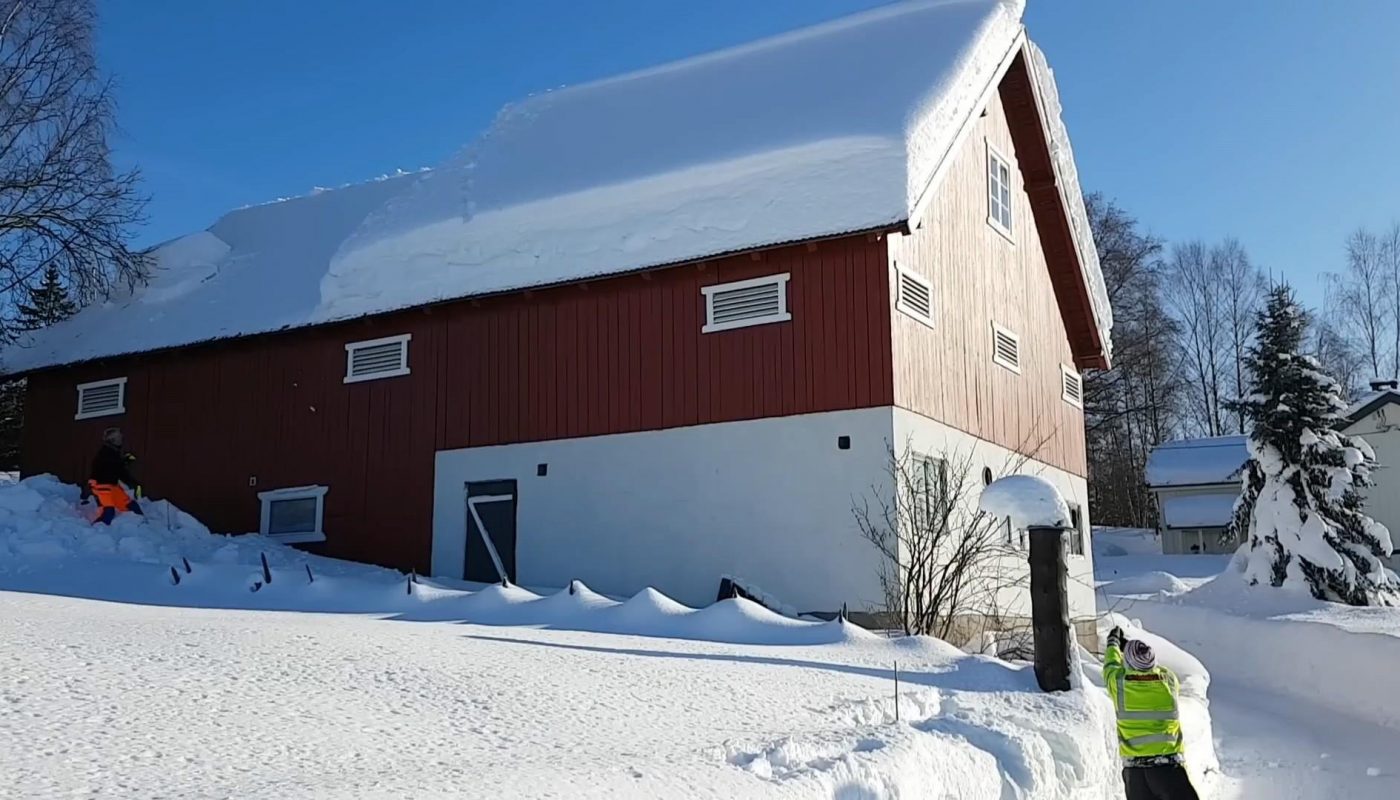
Image Alt Text: Person safely removing snow from a roof using a rope from the ground.