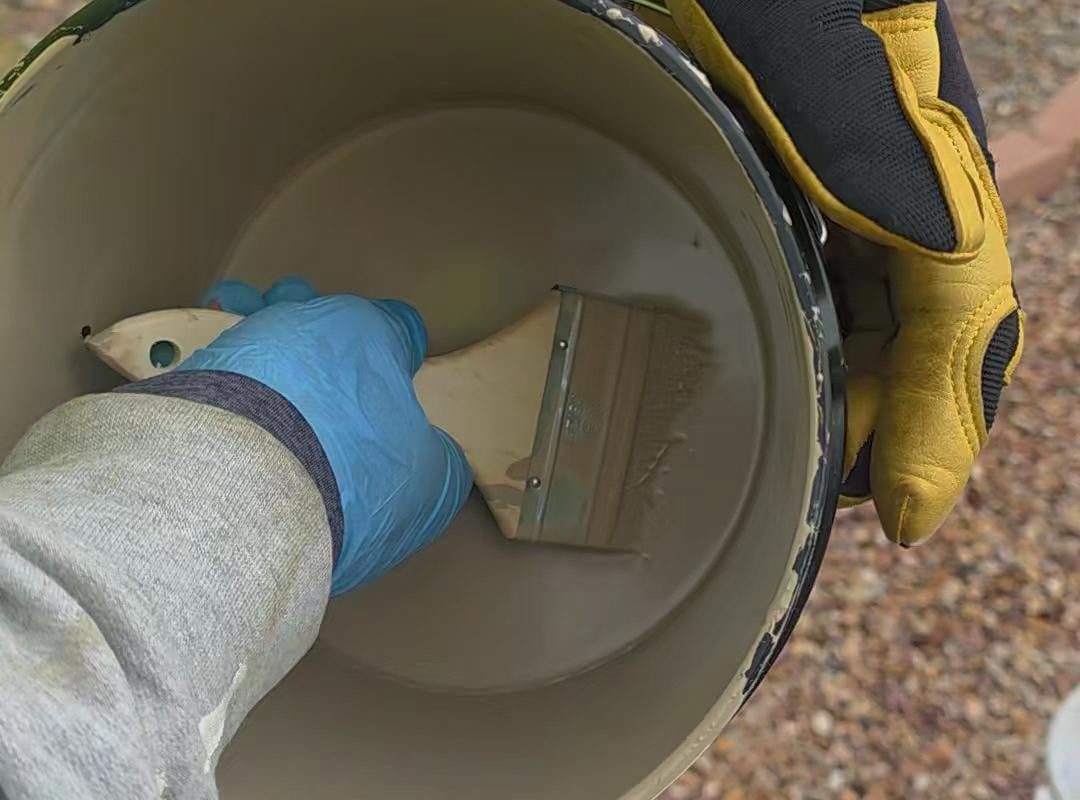
Taking out paint brush from a paint bucket
Meta Description: Learn the proper technique for taking out a paint brush from a paint bucket to avoid drips, save paint, and achieve a smooth finish. Follow these expert tips for flawless results!
How to Properly Remove a Paint Brush from a Paint Bucket (Without the Mess)
Whether you’re a DIY enthusiast or a professional painter, knowing how to correctly take a paint brush out of a paint bucket is essential for a clean, efficient painting process. A simple step done wrong can lead to wasted paint, messy drips, or uneven coverage. In this guide, we break down the best practices to master this foundational skill.
Why Does Proper Brush Removal Matter?
Skipping the right technique causes three common problems:
- Excessive Drips: Paint running down the brush handle or bucket.
- Overloaded Bristles: Leads to thick, uneven strokes on your surface.
- Wasted Paint: Up to 20% of paint can be lost to drips and splatter.
By following these steps, you’ll conserve materials, reduce cleanup time, and ensure a smoother finish.
Step-by-Step Guide to Removing a Paint Brush Like a Pro
1. Prepare the Brush and Bucket
- Stir the Paint: Mix the paint thoroughly with a stir stick to ensure consistency.
- Clean the Bucket Rim: Wipe away dried paint around the edge to avoid contaminating your brush.
2. Dip the Brush Correctly
Only submerge 1/3 to 1/2 of the bristles into the paint. Overloading is the #1 mistake beginners make!
3. Lift the Brush Slowly
- Angle the brush slightly against the inside edge of the bucket as you lift.
- Avoid jerky movements—this slings paint everywhere.
4. Scrape Excess Paint
Gently tap (don’t wipe) the brush against the inner rim of the bucket:
- For latex/water-based paint: Tap 2–3 times per side.
- For oil-based paint: Tap once—it’s thicker and drips less.
5. Check the Brush Load
Ideal loading leaves the bristles full but not dripping. Test by holding the brush over the bucket for 3 seconds. If more than 1–2 drips fall, scrape again.
Common Mistakes to Avoid
- Shaking the Brush: This creates splatter and air bubbles in the paint.
- Dragging the Brush on the Rim: This frays bristles and weakens your brush over time.
- Skipping the Tap Test: Leads to heavy application and visible brush marks.
Pro Tips for a Cleaner Process
- Use a Paint Grid: Mount a metal grid inside the bucket to scrape brushes effortlessly.
- Spin the Brush: For minimal drips, lightly spin the brush handle between your palms after removing it.
- Wipe the Handle: Keep a rag nearby to clean the brush handle before painting—this prevents sticky grip issues.
What If You’re Using a Paint Can Instead?
The same principles apply! For cans:
- Use a smaller brush or pour paint into a separate bucket to avoid contaminating the main supply.
- Always reseal the can tightly after use to prevent skinning.
Final Thoughts
Mastering how to take out a paint brush from a bucket may seem minor, but it’s the foundation of a professional-looking paint job. With these tips, you’ll spend less time cleaning up mishaps and more time enjoying flawless walls, furniture, or artwork.
Got a painting project coming up? Save this guide for reference, and share your success stories in the comments below!
SEO Keywords: how to remove paint brush from bucket, proper paint brush technique, painting without drips, loading paint brush, DIY painting tips, avoid paint waste, smooth paint finish, painting hacks.