The perfect cut of a tuna
The Perfect Cut of Tuna: A Step-by-Step Guide for Sushi, Sashimi, and Grilled Perfection
Tuna is one of the ocean’s most versatile and prized fish, adored for its rich flavor, buttery texture, and nutritional value. But achieving the perfect cut of tuna is an art form that can elevate your sushi, sashimi, or grilled dishes from good to extraordinary. Whether you’re a home chef or a seafood enthusiast, mastering the cut ensures maximum flavor, presentation, and minimal waste.
In this guide, we’ll break down:
- The anatomy of a tuna
- How to select the freshest fish
- Step-by-step cutting techniques for sushi, sashimi, and grilling
- Pro tips for texture preservation and knife skills
Let’s dive in!
Understanding Tuna Anatomy: Key Cuts & Their Uses
Before slicing into your tuna, it’s essential to know its structure. Tuna is divided into several sections, each with unique qualities:
-
Akami (Lean Red Meat):
- Located along the spine and tail.
- Firm texture, deep red color, mild flavor.
- Best for: Sashimi, seared tuna, salads.
-
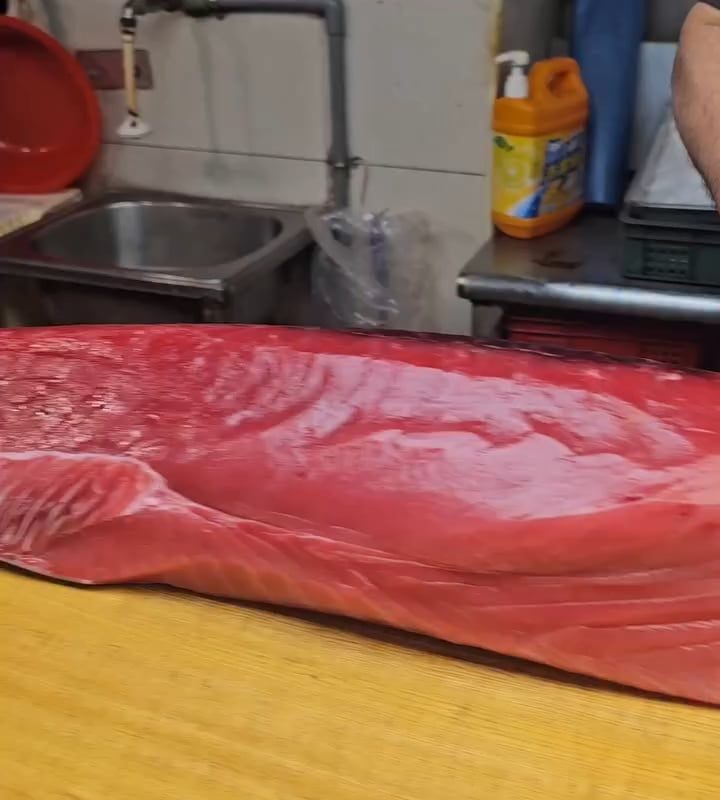
Toro (Fatty Belly):
- Prized for its high fat content and melt-in-your-mouth texture.
- Divided into Otoro (most fatty, near the head) and Chutoro (medium-fatty, middle belly).
- Best for: Premium sushi, nigiri, tartare.
-
Back & Collar:
- Meaty, flavorful sections ideal for grilling or broiling.
-
Tail & Lower Belly:
- Leaner, firmer meat perfect for poke bowls or stir-fries.
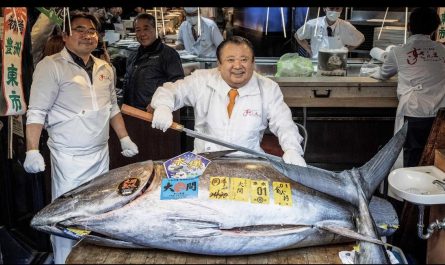
Step 1: Selecting the Right Tuna
Freshness is non-negotiable. Follow these tips:
- Look for:
- Bright, clear eyes (not cloudy).
- Firm, glossy flesh that springs back when pressed.
- A clean, ocean-like smell (avoid fishy odors).
- Metallic sheen on the skin (a sign of freshness).
- Avoid:
- Dull or brownish flesh (oxidation).
- Gaps between muscle segments.
- Species Matters:
- Bluefin: Highest fat content, best for premium sushi.
- Yellowfin (Ahi): Leaner, great for grilling.
- Bigeye: Balanced fat, versatile for raw and cooked dishes.
Pro Tip: Buy sushi-grade tuna from trusted suppliers to ensure safety for raw consumption.
Step 2: Preparing the Tuna
- Defrost Properly (if frozen):
- Thaw in the fridge for 24 hours—never at room temperature!
- Keep it Cold:
- Work in a chilled environment (≤40°F/4°C) to preserve freshness.
- Gather Tools:
- A sharp Yanagiba (sashimi knife) or Chef’s knife.
- Non-slip cutting board.
- Tweezers (for pin bones) and fish scaler (if skin-on).
Step 3: Mastering the Perfect Cut
For Sushi & Sashimi
- Remove Skin & Bloodline:
- Place tuna skin-side down. Slide the knife between flesh and skin at a 45° angle.
- Cut away the dark, bitter bloodline along the center.
- Hira-zukuri (Rectangular Slices):
- Cut against the grain into ½-inch thick blocks.
- Slice the blocks into uniform rectangles (for nigiri or sashimi).
- Usu-zukuri (Thin Slices for Sashimi):
- Angle the knife 30° and slice thinly (⅛ inch) for delicate presentations.
Pro Tip: Dip the knife in water between cuts to prevent sticking.
For Grilling or Seared Tuna
- Portion into Steaks or Loins:
- Cut perpendicular to the grain into 1.5-inch thick steaks.
- For skin-on cuts, score the skin to prevent curling.
- Trim for Uniformity:
- Remove uneven edges to ensure even cooking.
Handling Fatty Toro
- Otoro/Chutoro: Slice slightly thicker (¾ inch) to highlight the marbling.
- Serve immediately to savor the richness.
Pro Tips for Next-Level Cuts
- Knife Skills: Use long, single-stroke pulls—never saw back and forth!
- Texture Preservation: Avoid overhandling the flesh; warm hands can melt fat.
- Freshness Hack: Brush cuts with kombu (kelp) to enhance umami.
- Zero Waste: Use trimmings for poke bowls, tacos, or fish stock.
FAQs: Common Tuna Cutting Questions
Q: Can I cut tuna without a sashimi knife?
A: A sharp chef’s knife works, but a Yanagiba’s thin blade ensures cleaner slices.
Q: Should I remove the skin before cutting?
A: For raw dishes, yes. For grilling, leave it on to hold the steak together.
Q: How long can I store cut tuna?
A: Consume raw cuts within 24 hours. Cooked tuna lasts 3 days refrigerated.
Conclusion: Precision Equals Perfection
The perfect cut of tuna transforms this majestic fish into culinary art. Whether you’re crafting silky sashimi or succulent grilled steaks, understanding anatomy, freshness, and technique is key. With practice, you’ll minimize waste, maximize flavor, and impress even seasoned sushi lovers.
Ready to slice like a pro? Share your tuna creations with us!
SEO Keywords: Perfect tuna cut, how to cut tuna for sashimi, sushi-grade tuna preparation, tuna anatomy, cutting toro, seared tuna steak, tuna cutting techniques, best knives for tuna.
This guide equips you with actionable steps to master the perfect tuna cut. Bookmark it for your next seafood adventure! 🐟🔪