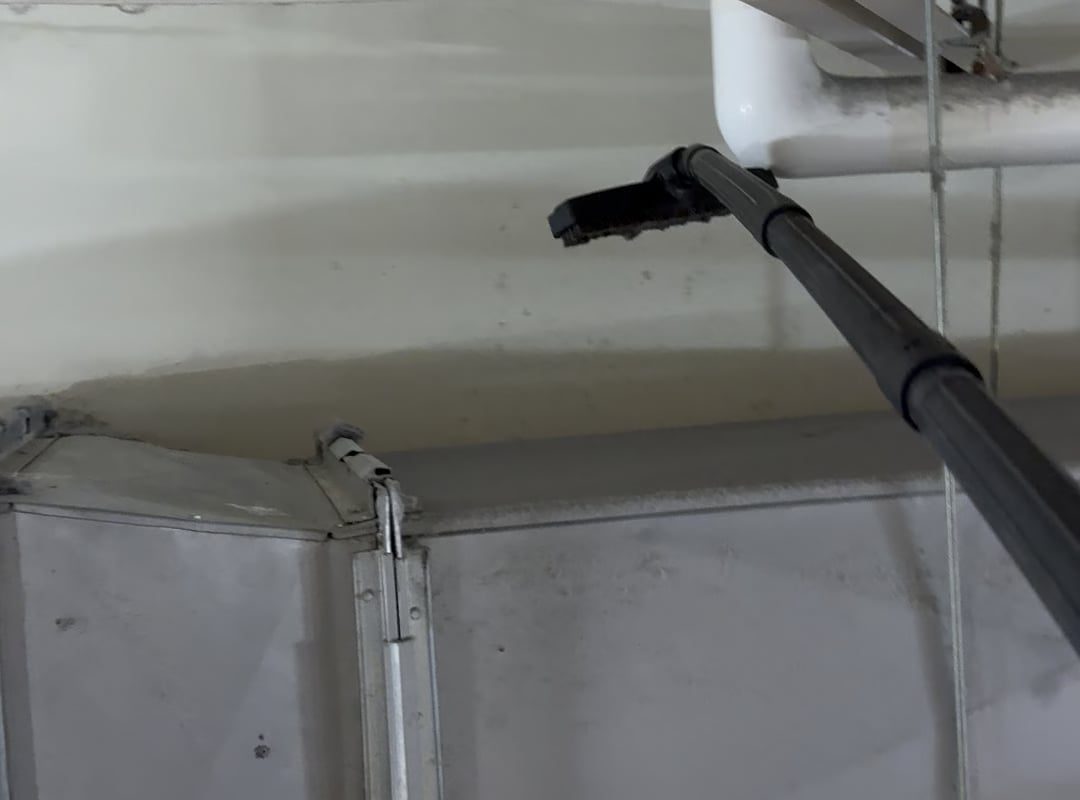
Vacuuming five years of dust off of AC ductwork.
Title: How to Safely Vacuum Five Years of Dust from Your AC Ductwork (Step-by-Step Guide)
Meta Description: Learn how to safely remove years of dust buildup from your AC ducts, improve indoor air quality, and restore HVAC efficiency. DIY methods vs. professional cleaning tips.
Introduction
Neglected air ducts can accumulate years of dust, pollen, pet dander, and even mold, silently degrading your indoor air quality and forcing your HVAC system to work harder. If it’s been five years (or longer) since your ductwork saw a cleaning, thick layers of dust could be circulating allergens, triggering respiratory issues, and spiking your energy bills. In this guide, you’ll learn how to safely vacuum stubborn dust buildup yourself or decide when to call a professional.
The Dangers of 5+ Years of Dust in Ductwork
Dust isn’t just unsightly—it poses real risks:
- Health Hazards: Dust mites, mold spores, and bacteria thrive in neglected ducts, worsening allergies and asthma.
- Reduced Efficiency: Dust buildup forces your AC to work 20–30% harder, shortening its lifespan and raising bills.
- Odors & Contamination: Musty smells and pest debris (like rodent droppings) often hide in decade-old dust.
Tools You’ll Need
Before starting, gather:
- HEPA Vacuum: A shop vac with HEPA filtration traps fine dust.
- Brush Attachments: Stiff-bristle duct cleaning brushes (available at hardware stores).
- Screwdriver: To remove vent covers.
- Microfiber Cloths & Mild Cleaner: For wiping grates.
- Safety Gear: N95 mask, gloves, and goggles (dust is toxic!).
Step-by-Step: Vacuuming Years of Dust from Ducts
Follow these steps for DIY cleaning or preliminary inspection:
1. Turn Off the HVAC System
Shut off power to your furnace or AC at the circuit breaker to prevent dust from blowing through your home.
2. Remove Vent Covers & Clean Them
Unscrew and remove all vent covers. Soak them in warm, soapy water, scrub gently, and dry completely.
3. Inspect Ducts for Severe Damage
Shine a flashlight into ducts. Look for:
- Visible mold growth (black/green spots).
- Rodent nests or insect infestations.
- Crushed or disconnected sections.
If spotted, STOP and call a pro.
4. Vacuum Accessible Areas
Use your brush attachment to agitate dust near vents, then vacuum thoroughly. Focus on:
- The first 3–4 feet of ductwork (where most dust settles).
- Corners and joints (dust accumulates here).
Tip: Stuff towels around the vacuum hose to create a seal against the duct opening.
5. Deep-Clean Hard-to-Reach Ducts
For thicker buildup, attach a flexible duct cleaning brush (or even a toilet brush) to a drill to dislodge dust before vacuuming.
When to Call a Professional
DIY cleaning works for light-to-moderate dust, but call a pro if:
- Mold is present: Remediation requires specialized tools and chemicals.
- Ducts are inaccessible: Pros use rotary whips and industrial vacuums for entire systems.
- You suspect asbestos: Homes built pre-1980 may have asbestos-lined ducts (do NOT disturb!).
Preventing Future Buildup
- Replace Filters Monthly: Use MERV 8–13 filters to trap dust.
- Seal Air Leaks: Prevent dusty air from entering ducts via gaps.
- Schedule Bi-Annual Maintenance: Pros recommend cleaning every 3–5 years.
Conclusion
Vacuuming five years of dust from your AC ducts isn’t just a chore—it’s an investment in your health, wallet, and comfort. While light cleaning is DIY-friendly, extreme buildup or contamination demands professional help. Pair your efforts with routine filter changes and HVAC checkups to keep your air fresh for years to come.
Keywords for SEO: clean dusty AC ducts, how to vacuum air ducts, dangers of dirty ductwork, HVAC maintenance tips, DIY duct cleaning vs professional, improve indoor air quality, remove mold from ducts.
Note: For severe cases, companies like Stanley Steemer or ServPro offer duct cleaning starting at $300–$500, depending on home size.