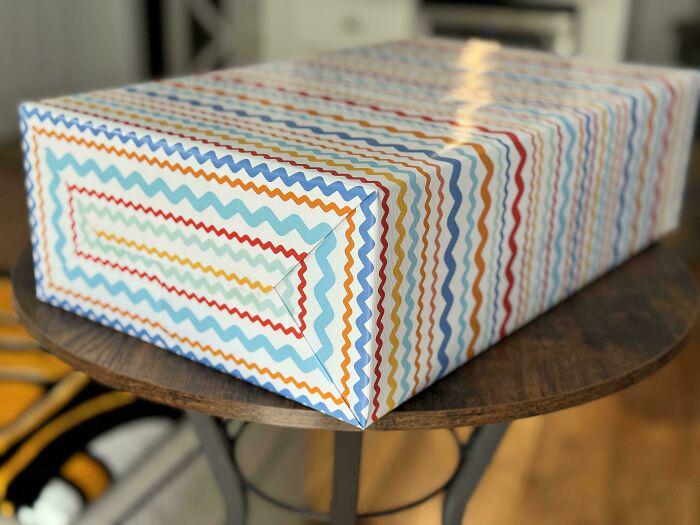
A (nearly) perfectly wrapped present!
Title: The Art of Gift Wrapping: How to Create a (Nearly) Perfectly Wrapped Present
Gift-giving is an act of love, but the presentation matters just as much as the gift itself! A beautifully wrapped present shows thoughtfulness, care, and attention to detail. While perfection isn’t always possible (we’re only human!), achieving a “nearly” flawless wrapped gift is absolutely attainable with the right tools and techniques. In this guide, we’ll walk you through step-by-step instructions, pro tips, and clever hacks to elevate your wrapping game and leave recipients in awe.
Why Perfect Wrapping Matters
A well-wrapped gift sets the tone for what’s inside. It builds anticipation, communicates effort, and makes even a small item feel luxurious. Whether it’s for a birthday, holiday, or “just because,” mastering gift wrapping ensures your gesture shines from the outside in.
Step 1: Gather Your Supplies
Start with quality materials—they make a huge difference!
- Wrapping paper: Choose sturdy, wrinkle-resistant paper.
- Scissors: Sharp blades ensure clean cuts.
- Double-sided tape: For invisible seams.
- Ruler or measuring tape: Precision is key.
- Ribbons, bows, or twine: For finishing touches.
- Embellishments: Tags, stickers, dried flowers, or greenery.
Pro Tip: Use patterned paper to camouflage small wrinkles or cuts!
Step 2: Measure and Cut Like a Pro
- Roll out the paper: Place your gift face-down in the center.
- Measure wisely: Pull the paper up over the sides, leaving enough to cover the gift with 1–2 inches of overlap.
- Cut cleanly: Use scissors and a ruler to slice the paper in straight lines—wonky edges ruin the illusion of perfection!
Step 3: Fold with Precision
- Crease sharply: Run your fingernail or a bone folder along folds to create crisp lines.
- Tame bulky corners: For boxy gifts, fold excess paper into neat triangles (like wrapping a burrito!) before taping.
- Hide the seams: Use double-sided tape underneath folds or along edges for a seamless look.
Hack for Odd Shapes: Use tissue paper + decorative boxes for non-traditional items (e.g., wine bottles or stuffed animals).
Step 4: Master the Finishing Touches
Elevate your gift with these easy upgrades:
- Ribbon magic:
- Cross two ribbons beneath the gift for a chic base.
- Tie a lush bow or try a modern minimalist knot.
- Personalize it: Add a handwritten tag or sprig of eucalyptus for rustic charm.
- Embellish wisely: Avoid overloading—less is often more!
Pro Tip: Curl ribbon with scissors for festive flair!
Common Mistakes to Avoid
- Too much tape: It creates bulk and looks messy.
- Uneven paper: Measure twice, cut once!
- Forgetting the extras: A gift tag without a name? Don’t skip the basics!
Embrace the “Nearly” Perfect Mindset
Even professionals have off days! A tiny wrinkle or uneven bow won’t overshadow the joy of giving. Focus on creativity and intention—quirks add character.
Final Thought: The best gifts come from the heart, but a beautifully wrapped package makes the moment unforgettable. With practice, you’ll nail the art of the almost perfect present every time!
Ready to Wrap? Share your wins (and hilarious fails!) with us on social—tag #NearlyPerfectPresent and inspire others to level up their gifting game. 🎁✨
Optimized Keywords: perfect gift wrap, how to wrap presents neatly, gift wrapping hacks, professional gift wrapping, holiday gift ideas, DIY present wrapping, creative gift presentation.
(Meta Description: Learn how to wrap a nearly flawless gift with expert tips, common mistakes to avoid, and creative finishing touches. Perfect for holidays, birthdays & more!)