Hemmingfoot sewing
Mastering Perfect Hems: A Complete Guide to Using a Hemming Foot for Sewing
Achieving crisp, professional-looking hems on garments or home decor projects can elevate your sewing from homemade to high-end. One often-overlooked tool that simplifies this process is the hemming foot (or “hemmer foot”), a specialized sewing machine presser foot designed to create flawless folded edges with minimal effort. In this guide, we’ll unpack everything you need to know about hemming feet, including how they work, types, step-by-step usage tips, and troubleshooting tricks.
What Is a Hemming Foot?
A hemming foot is a sewing machine attachment that automatically folds and guides fabric to create narrow, even hems—ideal for lightweight fabrics like silk, chiffon, or linen. It eliminates the need for tedious hand-folding and pinning, making it a game-changer for sewists tackling curved edges (e.g., ruffles, scarves, or napkins) or delicate materials prone to fraying.
Types of Hemming Feet
Not all hemming feet are the same! Match your project needs to these common types:
-
Rolled Hem Foot
- Creates ultra-fine, tightly rolled hems (2-3mm wide).
- Perfect for sheer fabrics, handkerchiefs, or lingerie.
- Often labeled numerically (e.g., size 2, 3, or 4) for different hem widths.
-
Blind Hem Foot
- Features a guide blade to help stitch nearly invisible hems on garments.
- Works best with straight or slightly curved edges.
-
Standard Hemming Foot
- Versatile for folded hems (5-7mm wide) on dresses, curtains, or linens.
- May include a scroll-like groove to funnel fabric into place.
-
Cording Hem Foot
- Adds decorative trim or cord into the hem while stitching.
Pro Tip: Check your sewing machine manual for compatibility—most feet fit low-shank machines, but high-shank or serger models may require specific adapters.
How to Use a Hemming Foot: Step-by-Step
Materials Needed:
- Hemming foot compatible with your machine
- Lightweight fabric (practice with muslin first!)
- Matching thread
- Scissors or rotary cutter
Steps:
-
Prepare the Fabric:
- Press the raw edge under ⅛ inch (3mm) to create an initial fold. This helps the foot guide the fabric smoothly.
-
Attach the Foot:
- Replace your standard presser foot with the hemming foot according to your machine’s instructions.
-
Set Up Your Machine:
- Use a straight stitch or narrow zigzag stitch.
- Reduce stitch length (1.5–2mm) for finer fabrics.
-
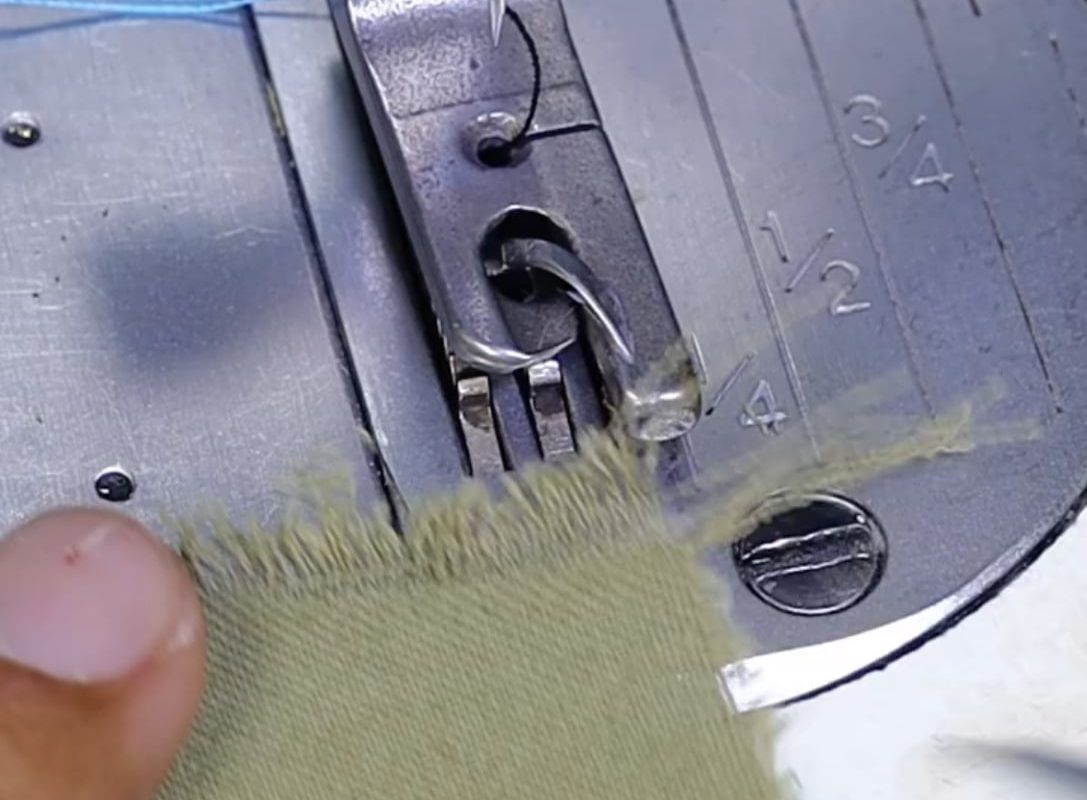
Begin Hemming:
- Place the folded fabric edge into the scroll or coil of the foot.
- Lower the presser foot and start sewing slowly, guiding the fabric lightly to prevent puckering.
- The foot will automatically roll/fold the fabric as you sew.
-
Finish the Hem:
- Backstitch at the end or tie threads manually for a clean finish.
Benefits of Using a Hemming Foot
- Speed: Create hems in seconds, not minutes.
- Precision: Eliminate uneven folds or wavy edges.
- Versatility: Handle fabrics from chiffon to denim (with the right foot type).
- Professional Results: Achieve couture-level finishes without frustration.
Common Mistakes & Troubleshooting
-
Fabric Not Feeding Properly?
- Ensure the initial fold is crisp and narrow.
- Hold fabric taut (but don’t pull) while sewing.
-
Puckering or Skipped Stitches?
- Switch to a fresh needle (size 70/10 for lightweight fabrics).
- Clean lint from the feed dogs and foot.
-
Curves Causing Trouble?
- Pause frequently to readjust the fabric into the foot’s guide.
- Use a smaller rolled hem foot (size 2) for tight curves.
Projects Perfect for a Hemming Foot
- Silk scarves or ribbon edges
- Flared skirt hems
- Curtain sheers
- Quilt bindings
- DIY face masks or handkerchiefs
Final Tips for Hemming Foot Success
- Practice First: Test scrap fabric to adjust tension and stitch length.
- Press as You Go: Ironing folds before sewing ensures crispness.
- Combine Techniques: Pair a hemming foot with fusible tape for extra stability on stretchy fabrics.
Conclusion
Investing in a hemming foot—or mastering the one hiding in your sewing kit—unlocks faster, cleaner finishes for garments and crafts. With a little patience and the right foot for your fabric, you’ll bid farewell to uneven hems and welcome salon-quality results. Ready to level up your sewing? Grab your hemming foot and stitch your way to perfection!
Meta Description: Learn how a hemming foot simplifies sewing with professional hems! Our guide covers types, step-by-step use, troubleshooting, and project ideas for flawless edges.
SEO Keywords: hemming foot sewing, rolled hem foot, how to use a hemming foot, sewing machine hemmer foot, blind hem foot, narrow hem tutorial, professional sewing techniques.