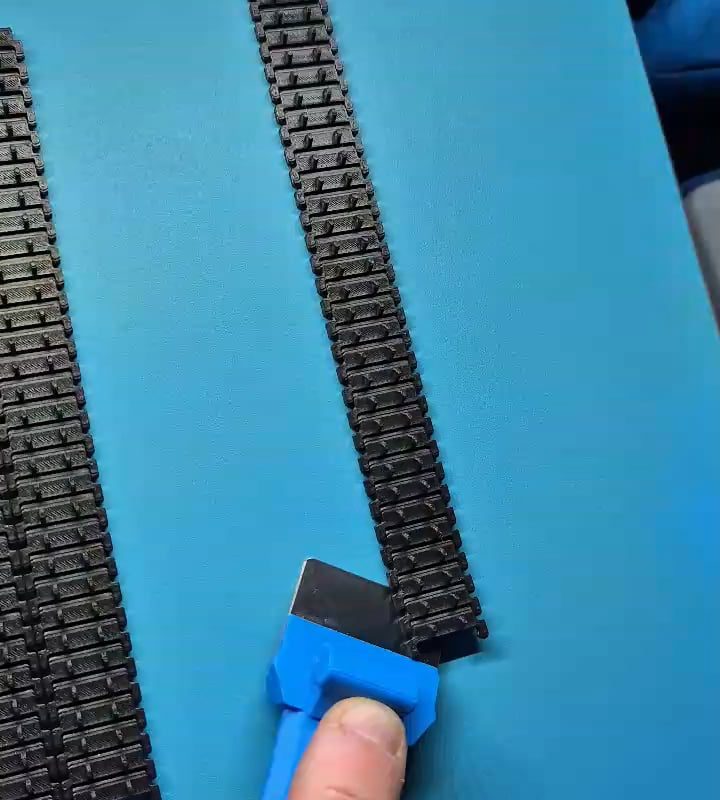
Removing a model part from my 3D printer
Title: How to Remove a 3D Printed Model Safely Without Damaging Your Printer
Meta Description: Learn the best methods for removing a 3D printed model part from your printer bed without scratching the surface, breaking your print, or harming your machine. Step-by-step guide inside.
Introduction
One of the most satisfying moments in 3D printing is watching your creation finish after hours (or days!) of printing. But that excitement can quickly turn to frustration if you accidentally damage the model, the printer bed, or even yourself while removing the print. Whether you’re a beginner or an experienced maker, learning how to safely remove a model part from your 3D printer is essential for protecting your equipment and ensuring print quality. In this guide, we’ll cover tools, techniques, and pro tips for hassle-free model removal.
Why Proper Removal Matters
3D prints adhere strongly to the build plate to prevent warping or shifting mid-print. However, this adhesion can make removal tricky. Forcing a print off the bed can lead to:
- Scratched or damaged build surfaces (glass, PEI, etc.).
- Broken or deformed models, especially with fragile supports.
- Injuries from sharp tools slipping.
Using the right approach preserves your printer’s bed, extends its lifespan, and keeps your prints intact.
Tools You’ll Need
- Plastic or Metal Scraper: Avoid sharp metal scrapers on delicate surfaces like PEI.
- Putty Knife/Wide Spatula: Great for prying under edges gently.
- Razor Blade (Optional): Use cautiously on glass beds for stubborn prints.
- Tweezers or Pliers: For gripping small parts or supports.
- Isopropyl Alcohol (IPA): Helps dissolve adhesives like glue stick.
- Freezer (Advanced Hack): For prints stuck on removable flex plates.
Step-by-Step: Safely Removing Your 3D Print
Step 1: Let the Bed Cool Completely
- Why: Most materials (PLA, PETG) contract slightly as they cool, loosening their grip on the bed.
- Action: Wait 10–30 minutes after printing ends. Heated beds stay warm, so be patient!
Step 2: Check Your Build Surface Type
Different surfaces require unique approaches:
- Glass Bed: Use a razor blade or scraper at a low angle. Avoid chipping the glass.
- PEI/Flexible Steel Sheet: Bend the plate to pop prints off with ease.
- Magnetic BuildTak: Use a plastic scraper to avoid gouging the surface.
- Adhesives (Glue Stick, Hairspray): Apply IPA around the edges to dissolve residue.
Step 3: Pry Gently from the Corners
- Slide your scraper or putty knife under a corner of the model.
- Tap the handle lightly with a small mallet if needed—don’t force it.
- Work around the edges slowly to avoid concentrating stress on one area.
Step 4: Use Advanced Techniques for Stubborn Prints
- The Freezer Trick: Place the entire build plate (if removable) in the freezer for 5–10 minutes. Metal/glass contracts faster than plastic, releasing the model.
- Heat the Bed Again: Reheat the bed to ~40°C to slightly soften the material’s grip.
- Floss Method: Slide dental floss or fishing line under the print in a sawing motion.
Step 5: Clean the Bed
After removal:
- Wipe the bed with IPA to remove adhesive residues or dust.
- Inspect for scratches or gouges—repair or replace damaged surfaces.
Troubleshooting Common Problems
- “My Print Won’t Budge!”: Use gradual pressure or try the freezer method. Avoid hammers or excessive force!
- “I Scratched My Bed!”: Replace glass plates or apply a new PEI sticker. Use plastic tools next time.
- “My Model Broke During Removal”: Lower bed adhesion (adjust Z-offset or reduce first-layer squish).
Prevention: Tips for Easier Future Removals
- Use a Release Agent: Apply glue stick, hairspray, or specialized 3D printing adhesives as a buffer between the bed and print.
- Adjust Bed Adhesion Settings: In your slicer, reduce the first-layer flow rate or increase the nozzle gap.
- Invest in a Flexible Build Plate: Magnetic PEI sheets make removal effortless.
- Print with a Brim/Raft: Creates a wider base, giving you more surface area to pry.
Conclusion
Removing a model part from your 3D printer doesn’t have to be a battle. By letting the bed cool, matching your technique to your build surface, and using the right tools, you’ll keep your printer—and your prints—in perfect condition. For extra-stubborn cases, try the freezer trick or dissolve adhesives with IPA. With these tips, you’ll spend less time fighting your prints and more time enjoying them!
Got Questions? Share your stories or challenges in the comments below! 👇
Target Keywords Used:
- Removing a model part from my 3D printer
- Safely remove 3D print
- How to remove 3D printed models
- 3D printer bed adhesion
- PEI sheet removal
Boost SEO Further With:
- Internal links to related articles (“How to Level a 3D Printer Bed,” “Best Build Surfaces for 3D Printing”).
- Alt-text for images (e.g., “Using a plastic scraper on a 3D printer bed”).
- Backlinks from maker forums or 3D printing blogs.